I’m sure you already know the famous tool call Postman. This is a super useful tool for test your API and looks at the response you get from your server. But I see a lot of people just using it as a manual tester. This is not wrong but you can get much better productivity with if you use some of Postman features.
Create your first Simple Test
First thing this is a simple controller in your app where you can fetch a unique post with is ID as params.
/posts/controller.js
import Post from './model'
/**
 * GET BY ID
 */
export const fetchPostById = async (req, res) => {
  try {
    res.status(200).json({ post: await Post.findById(req.params.id) })
  } catch (e) {
    res.status(e.status).json({ error: true, message: e.message })
  }
}
/posts/routes.js
import { Router } from 'express'
import * as PostController from './controller'

const routes = new Router()

routes.route('/posts/:id').get(PostController.fetchPostById)

export default routes
Now time to open Postman. In your left, you gonna see
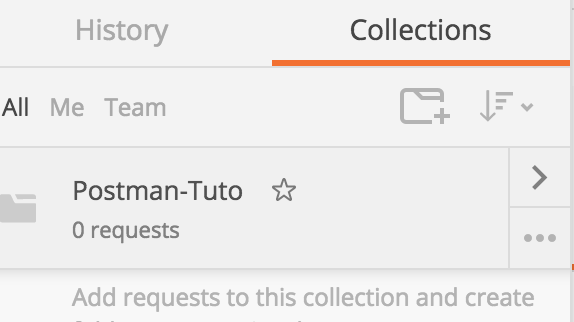
a little folder with a plus sign. If you click there you can now create a collection.
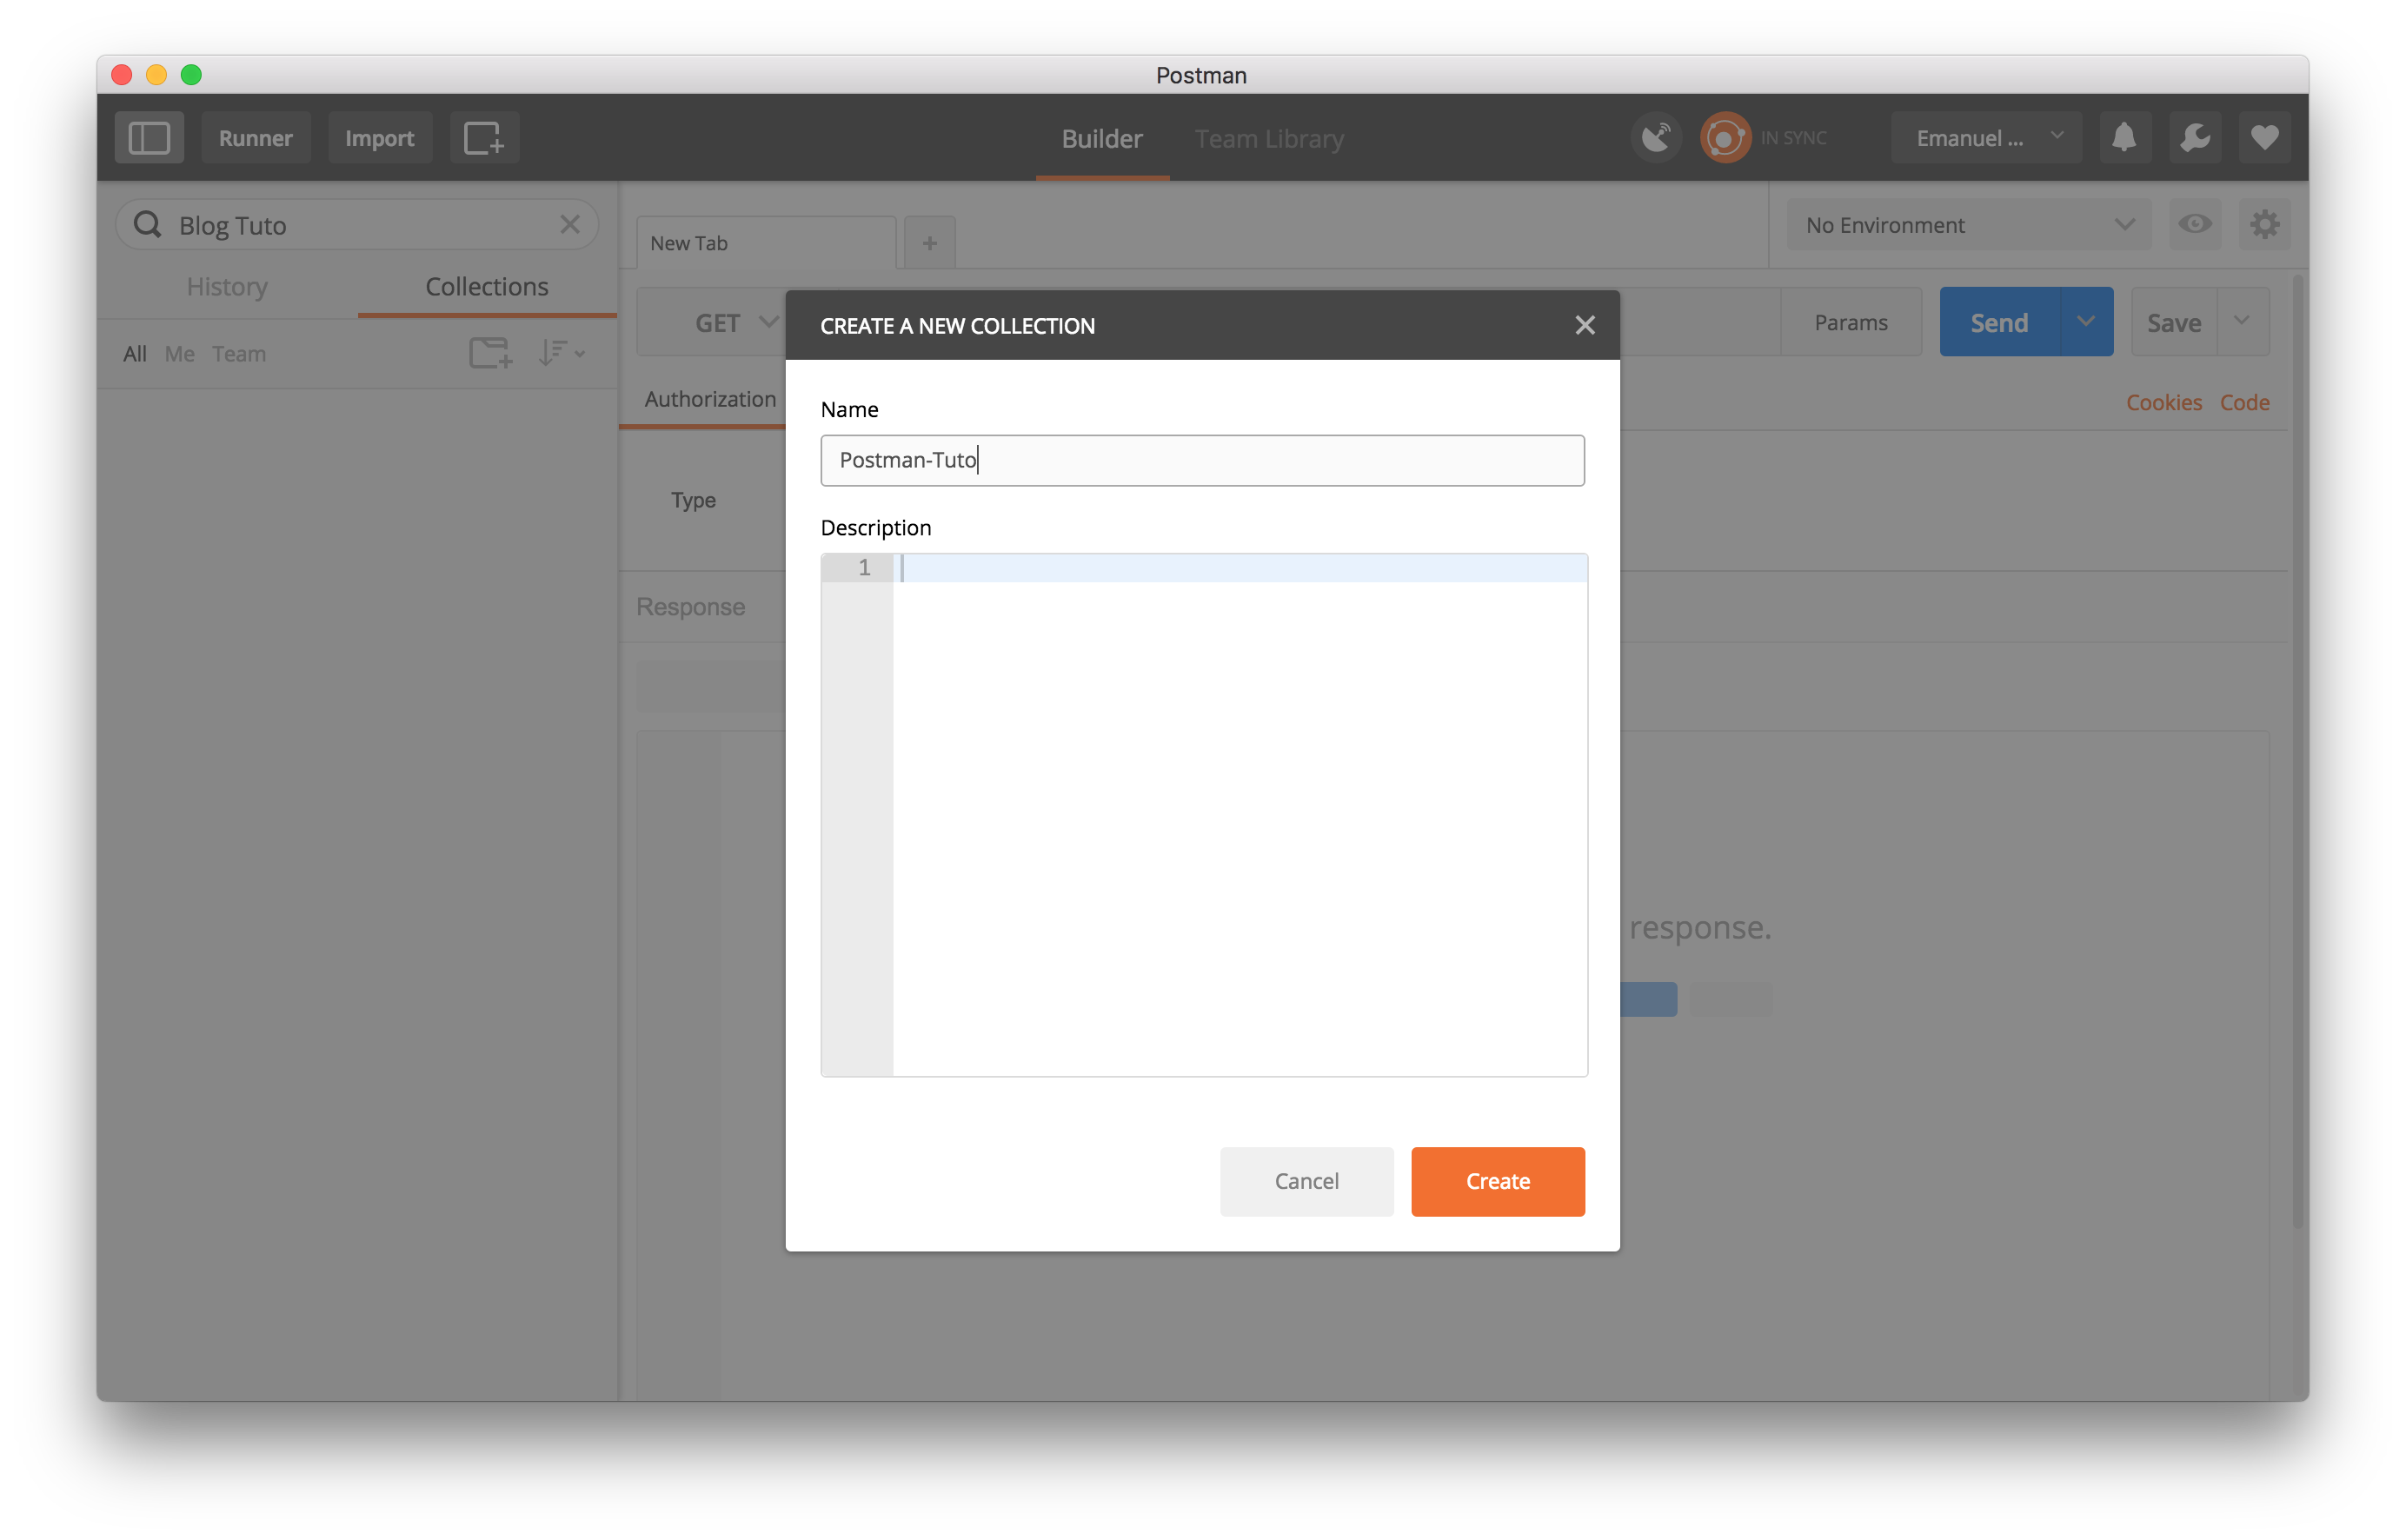
Give a little name for your collection. For me, I’m using Postman-Tuto. With that collection, we make our life much easier to test route already create.
Add the route and the GET method in the main area. For me, I add
http://localhost:3000/api/v1/posts/588ce463f4741431c918a04bcause I have already created a fake post.
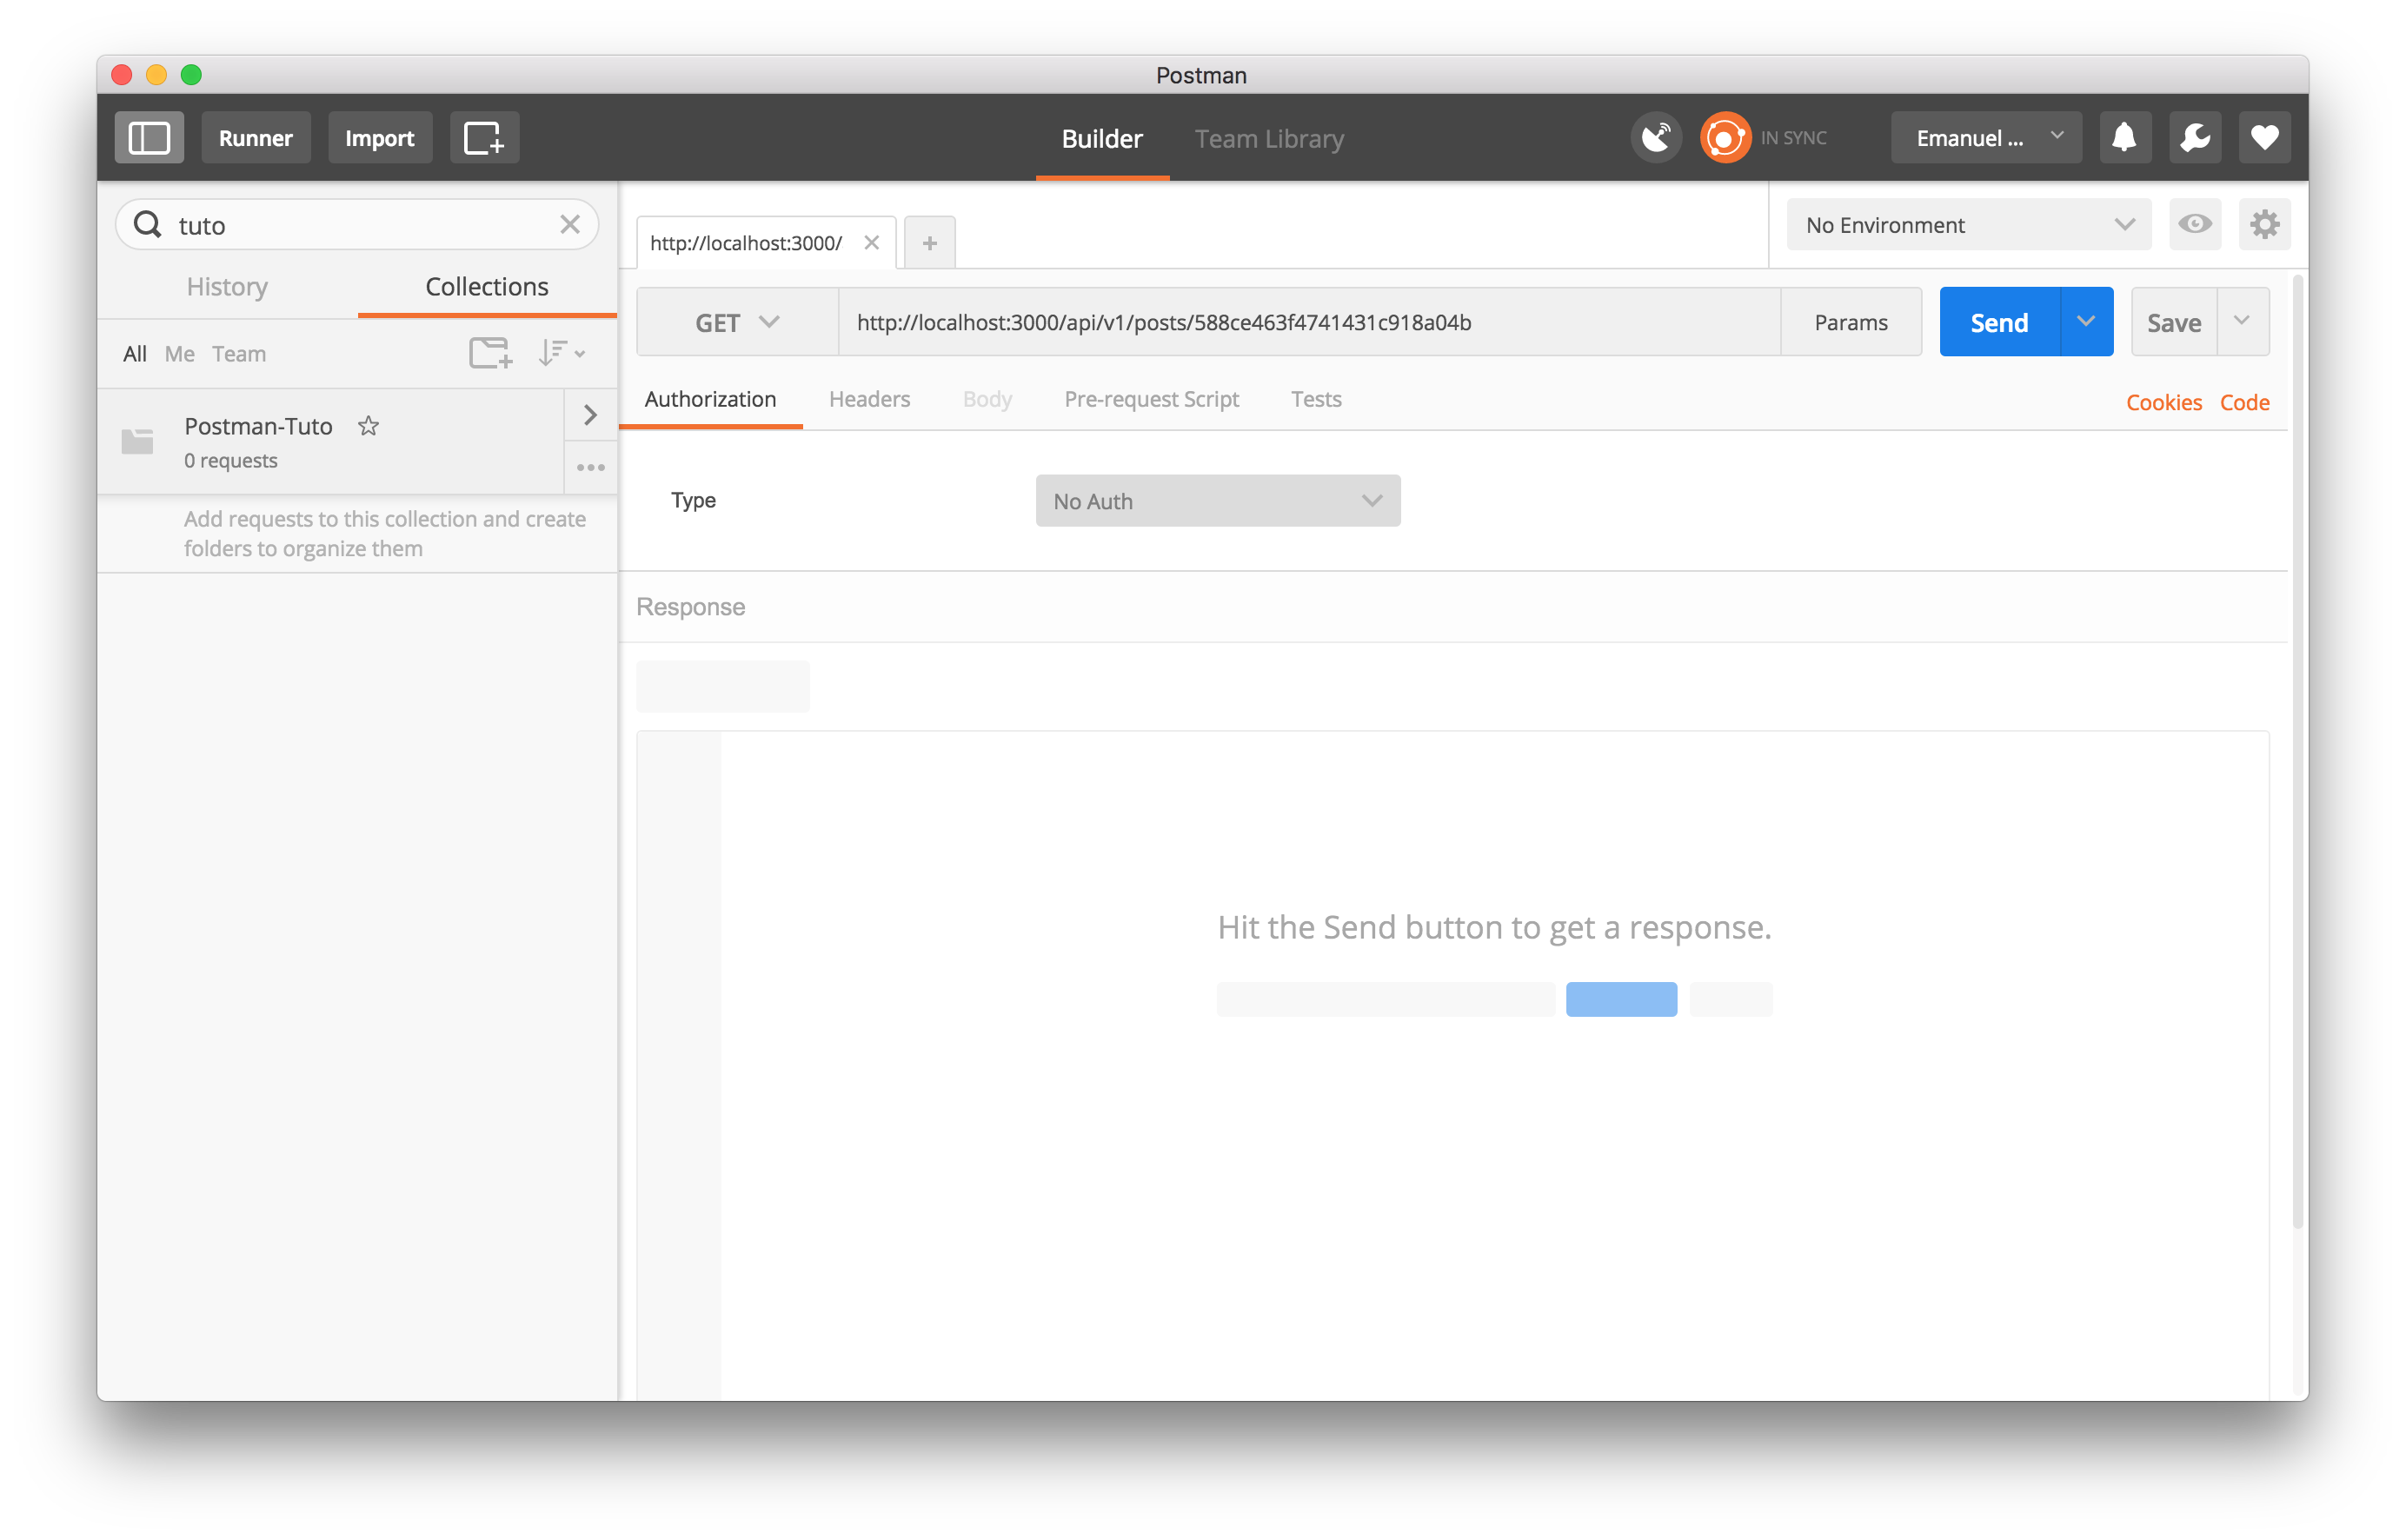
Now when I click send I receive this.
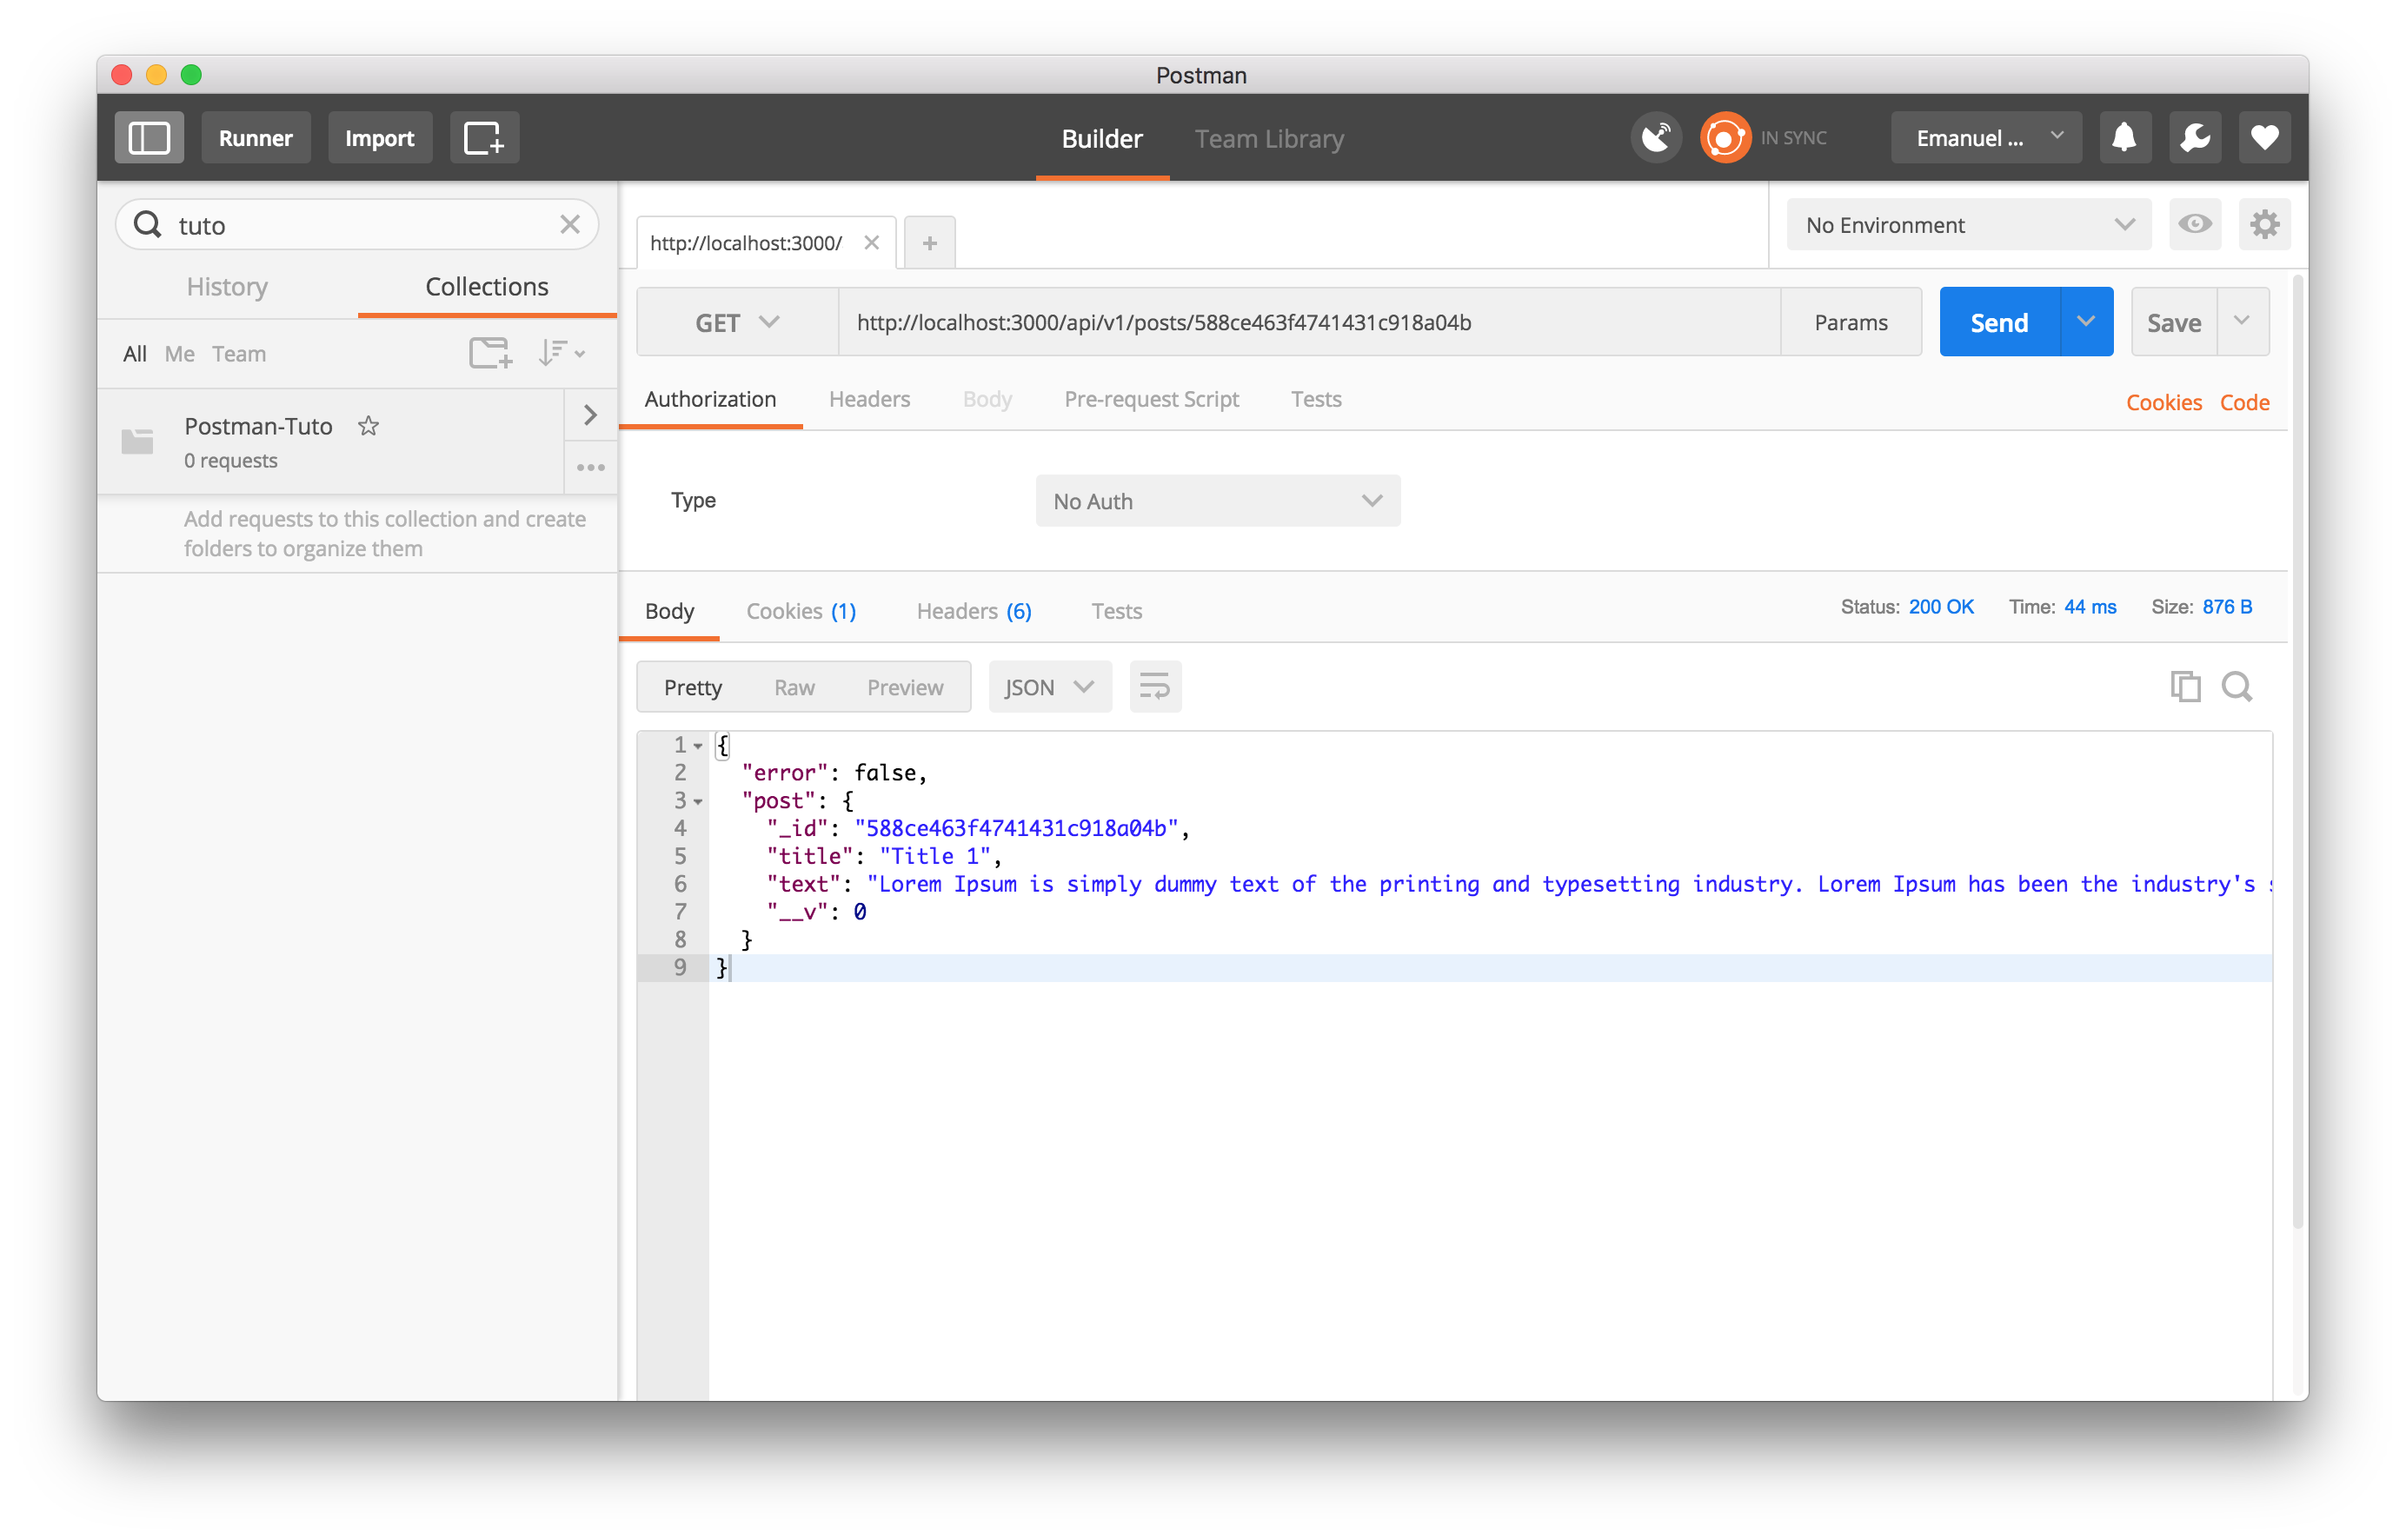
Perfect the route is working and the controller + model do their job.
Write your first Postman test
If you click on Test right below the URL container you gonna see this
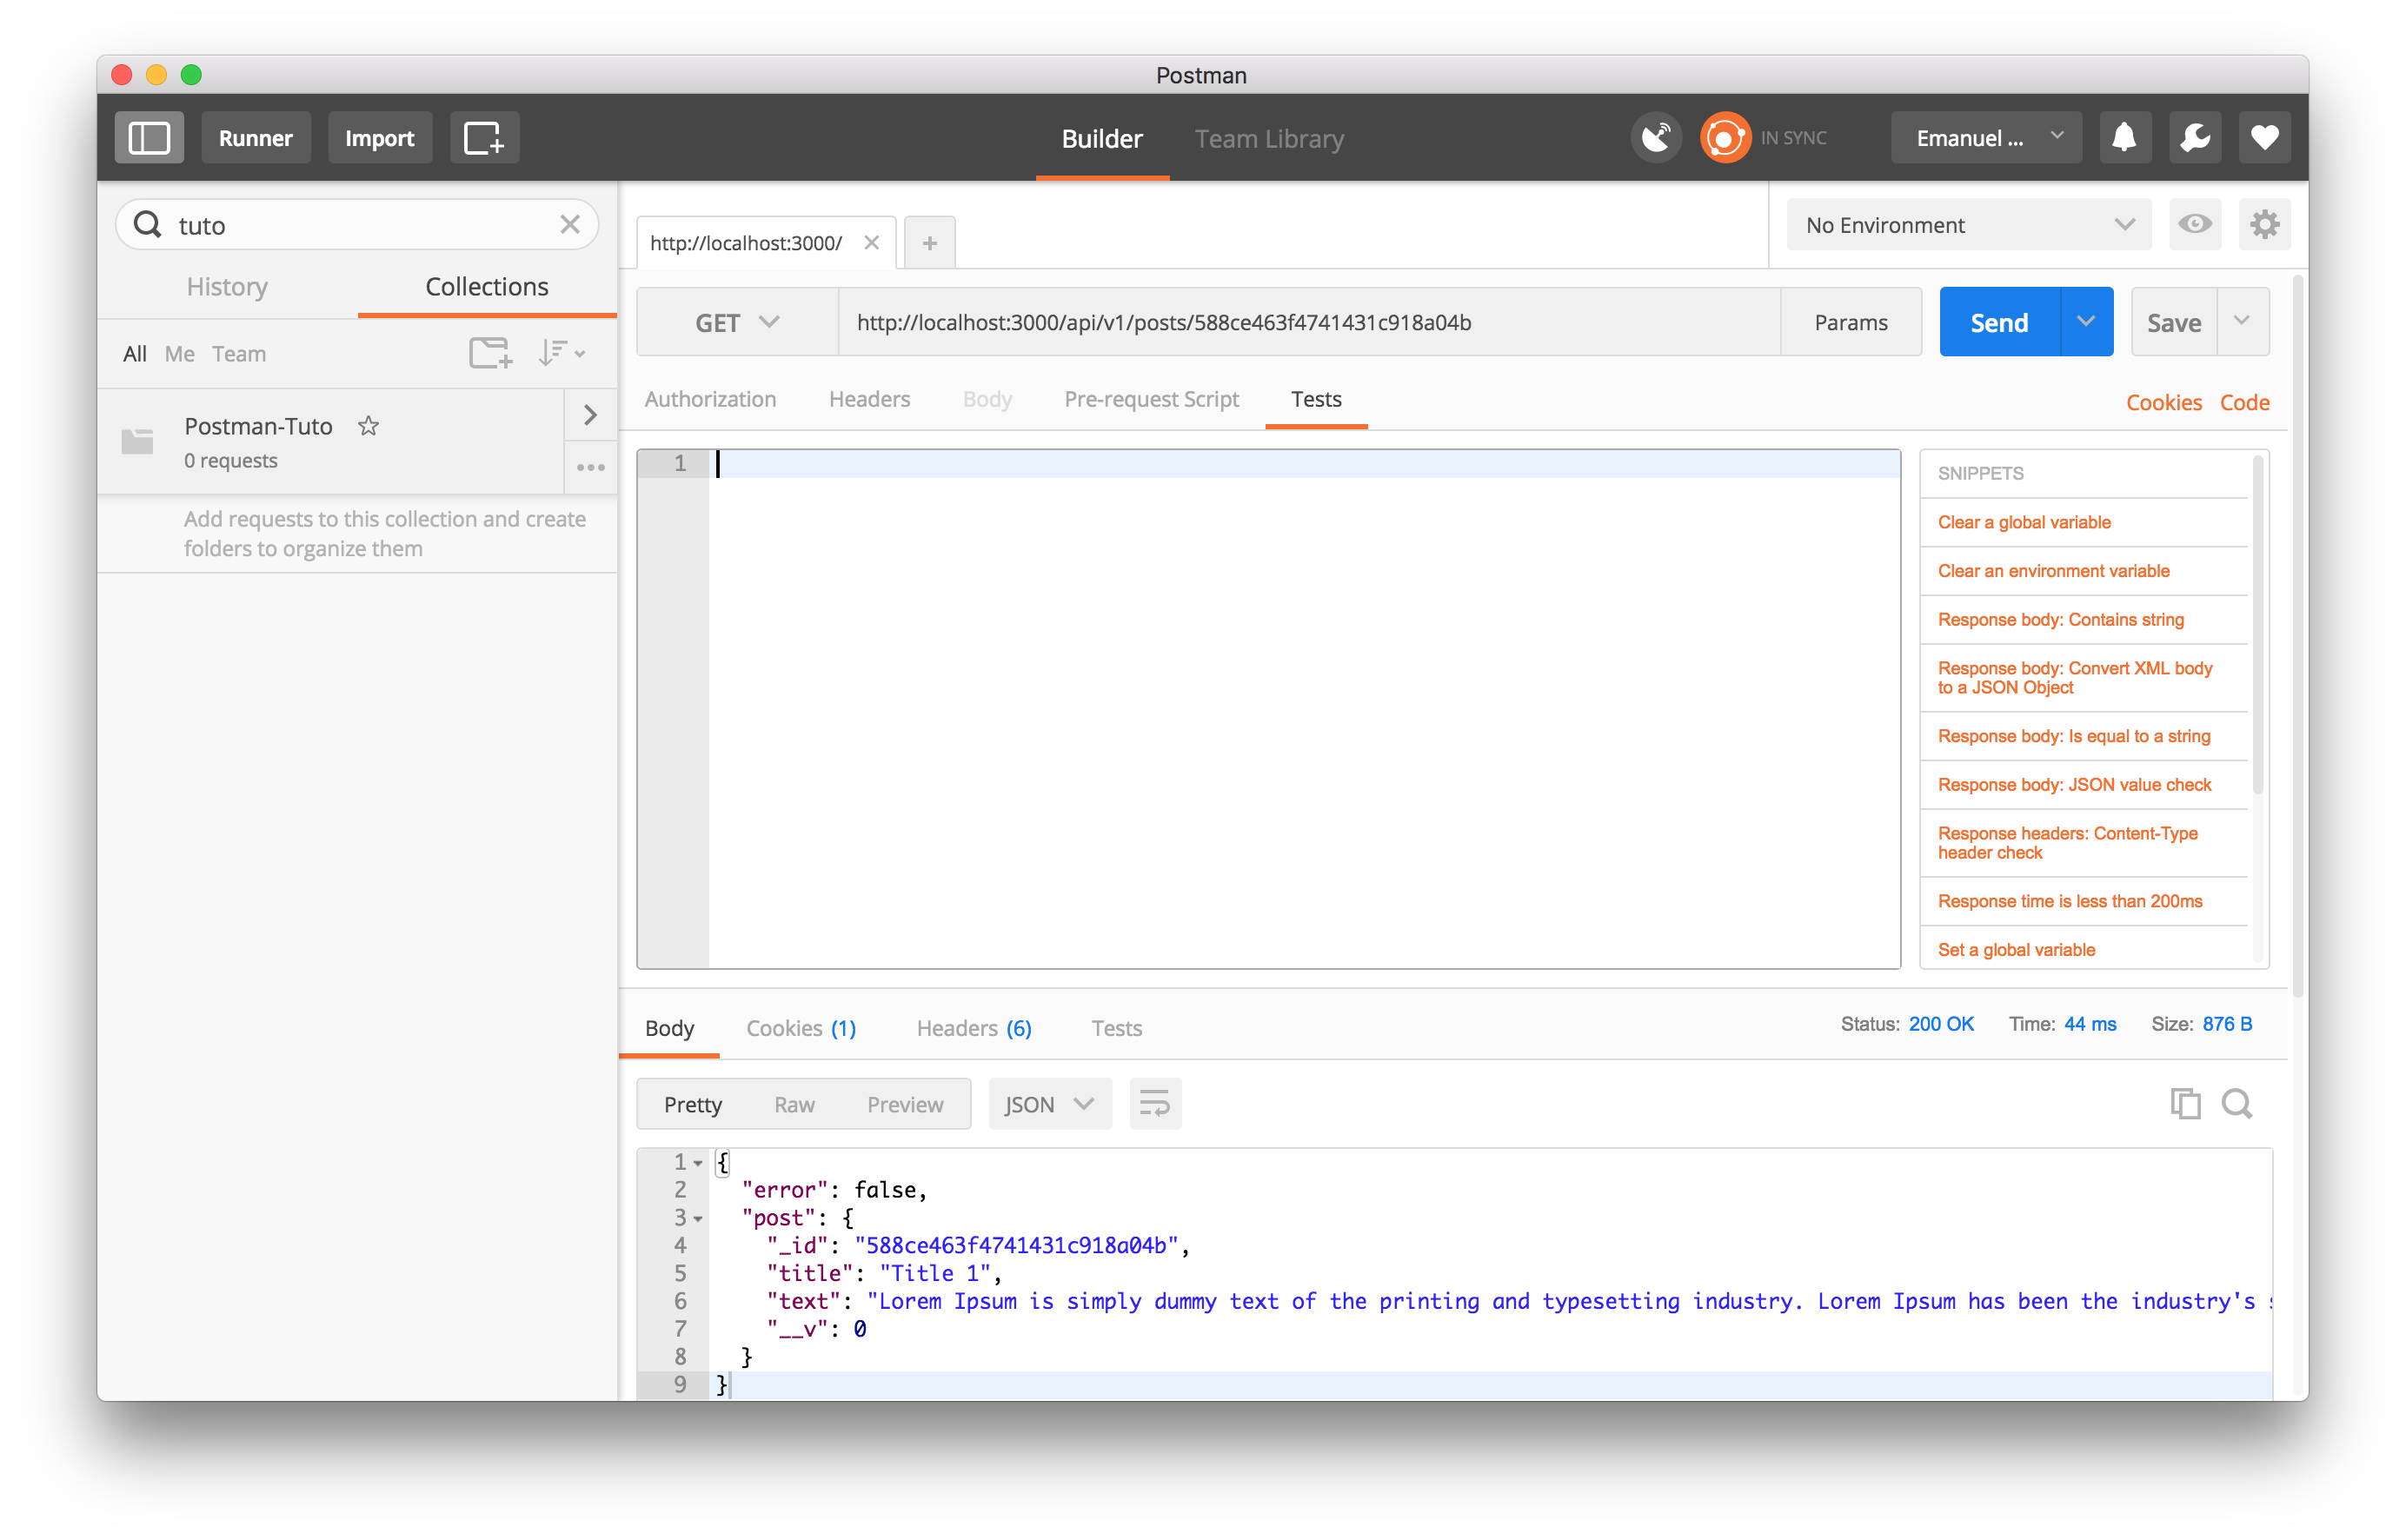
Now time to write some test. First thing in the right you can see a select menu with test already create by Postman. We can select one already
Status code: Code is 200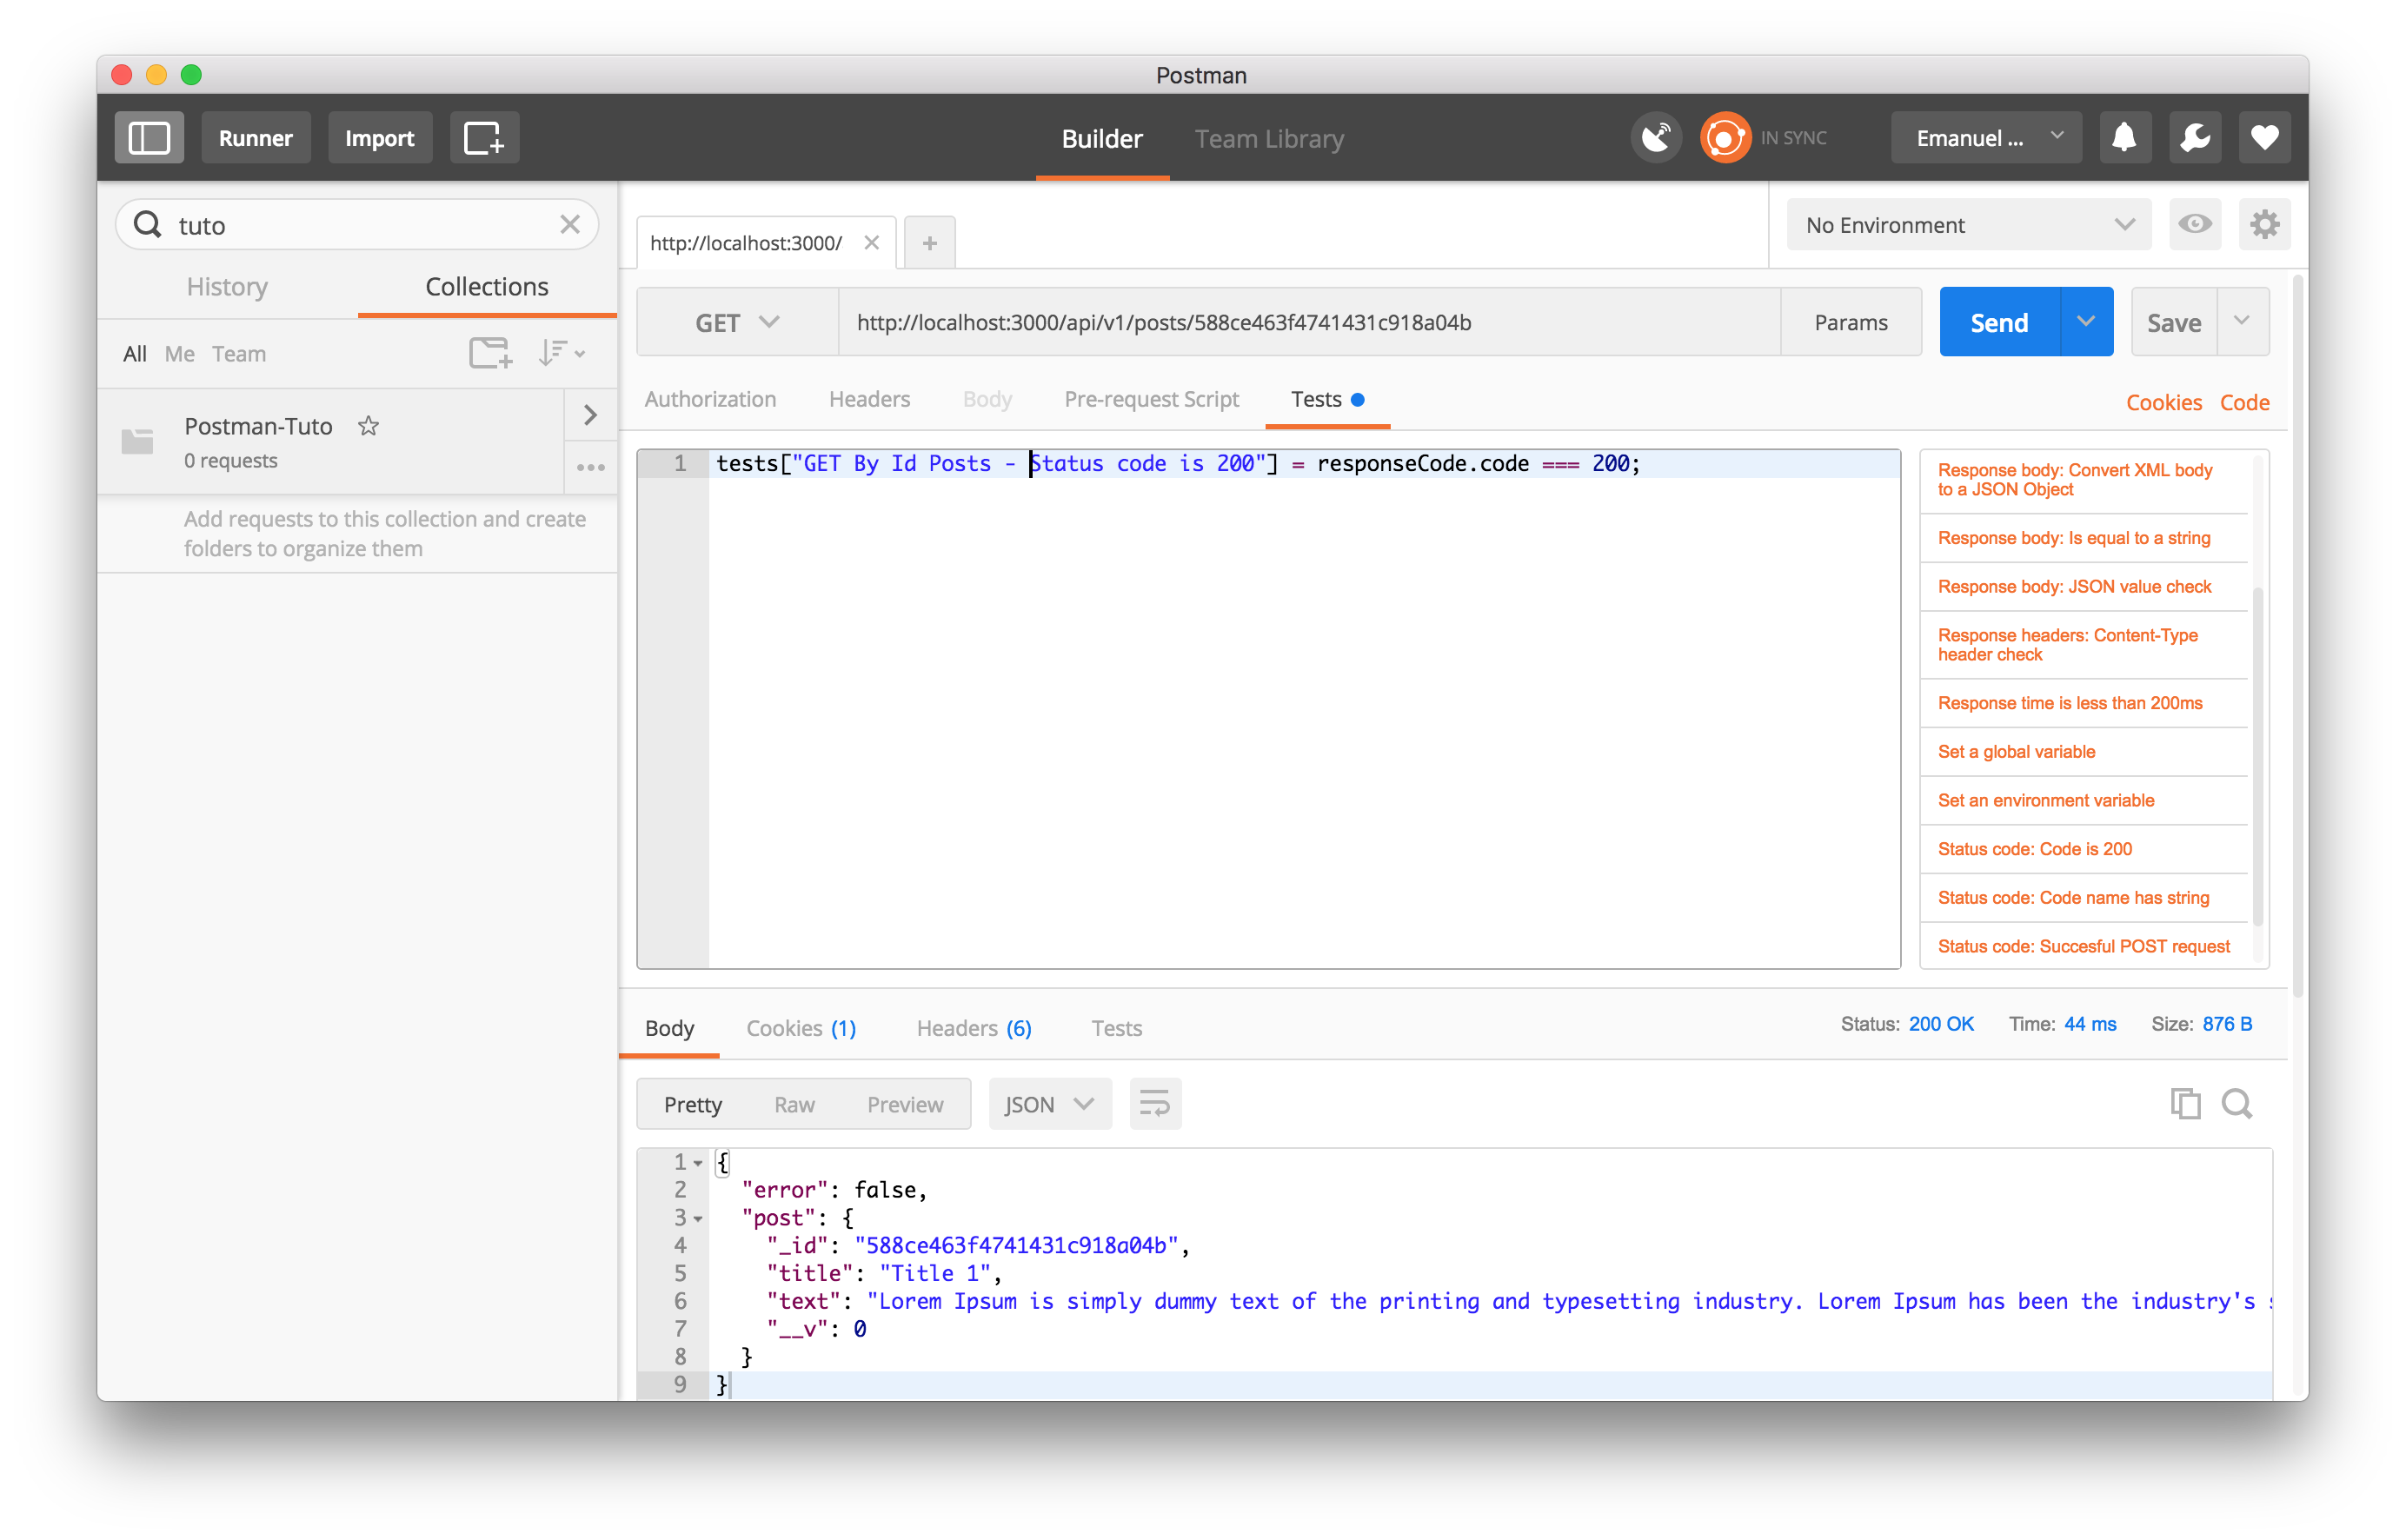
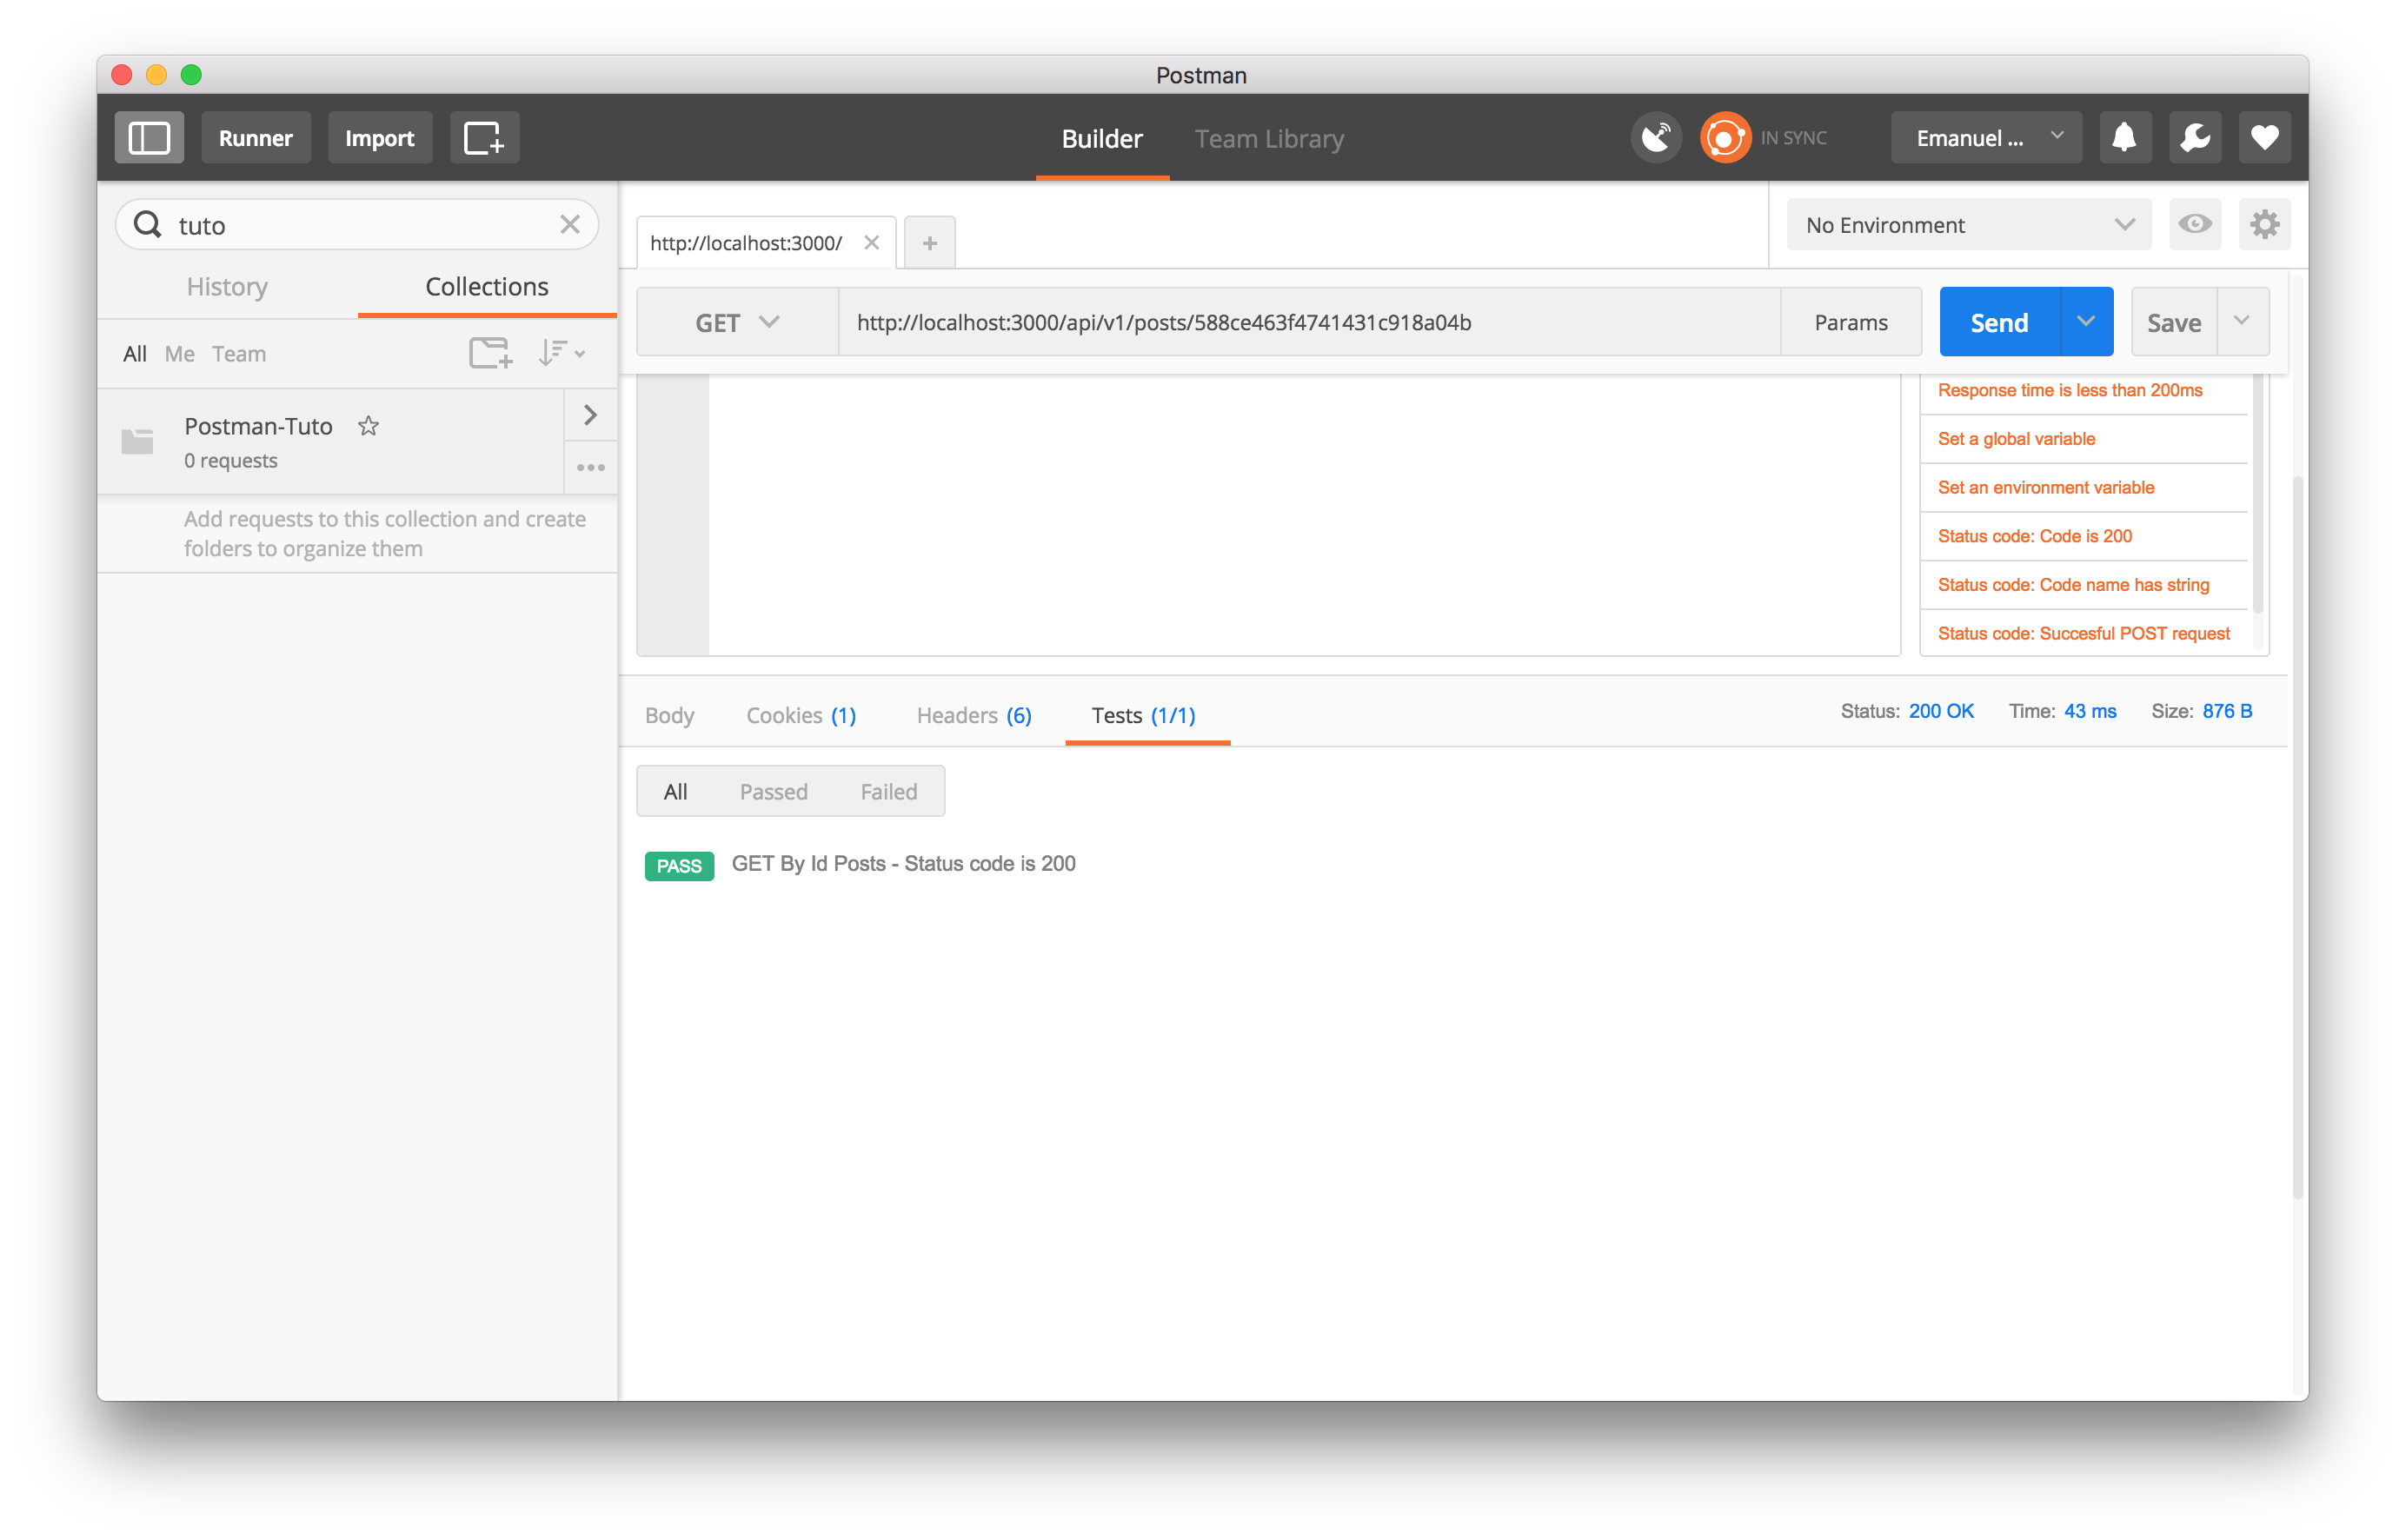
If you click send now we can see the test pass 1/1.
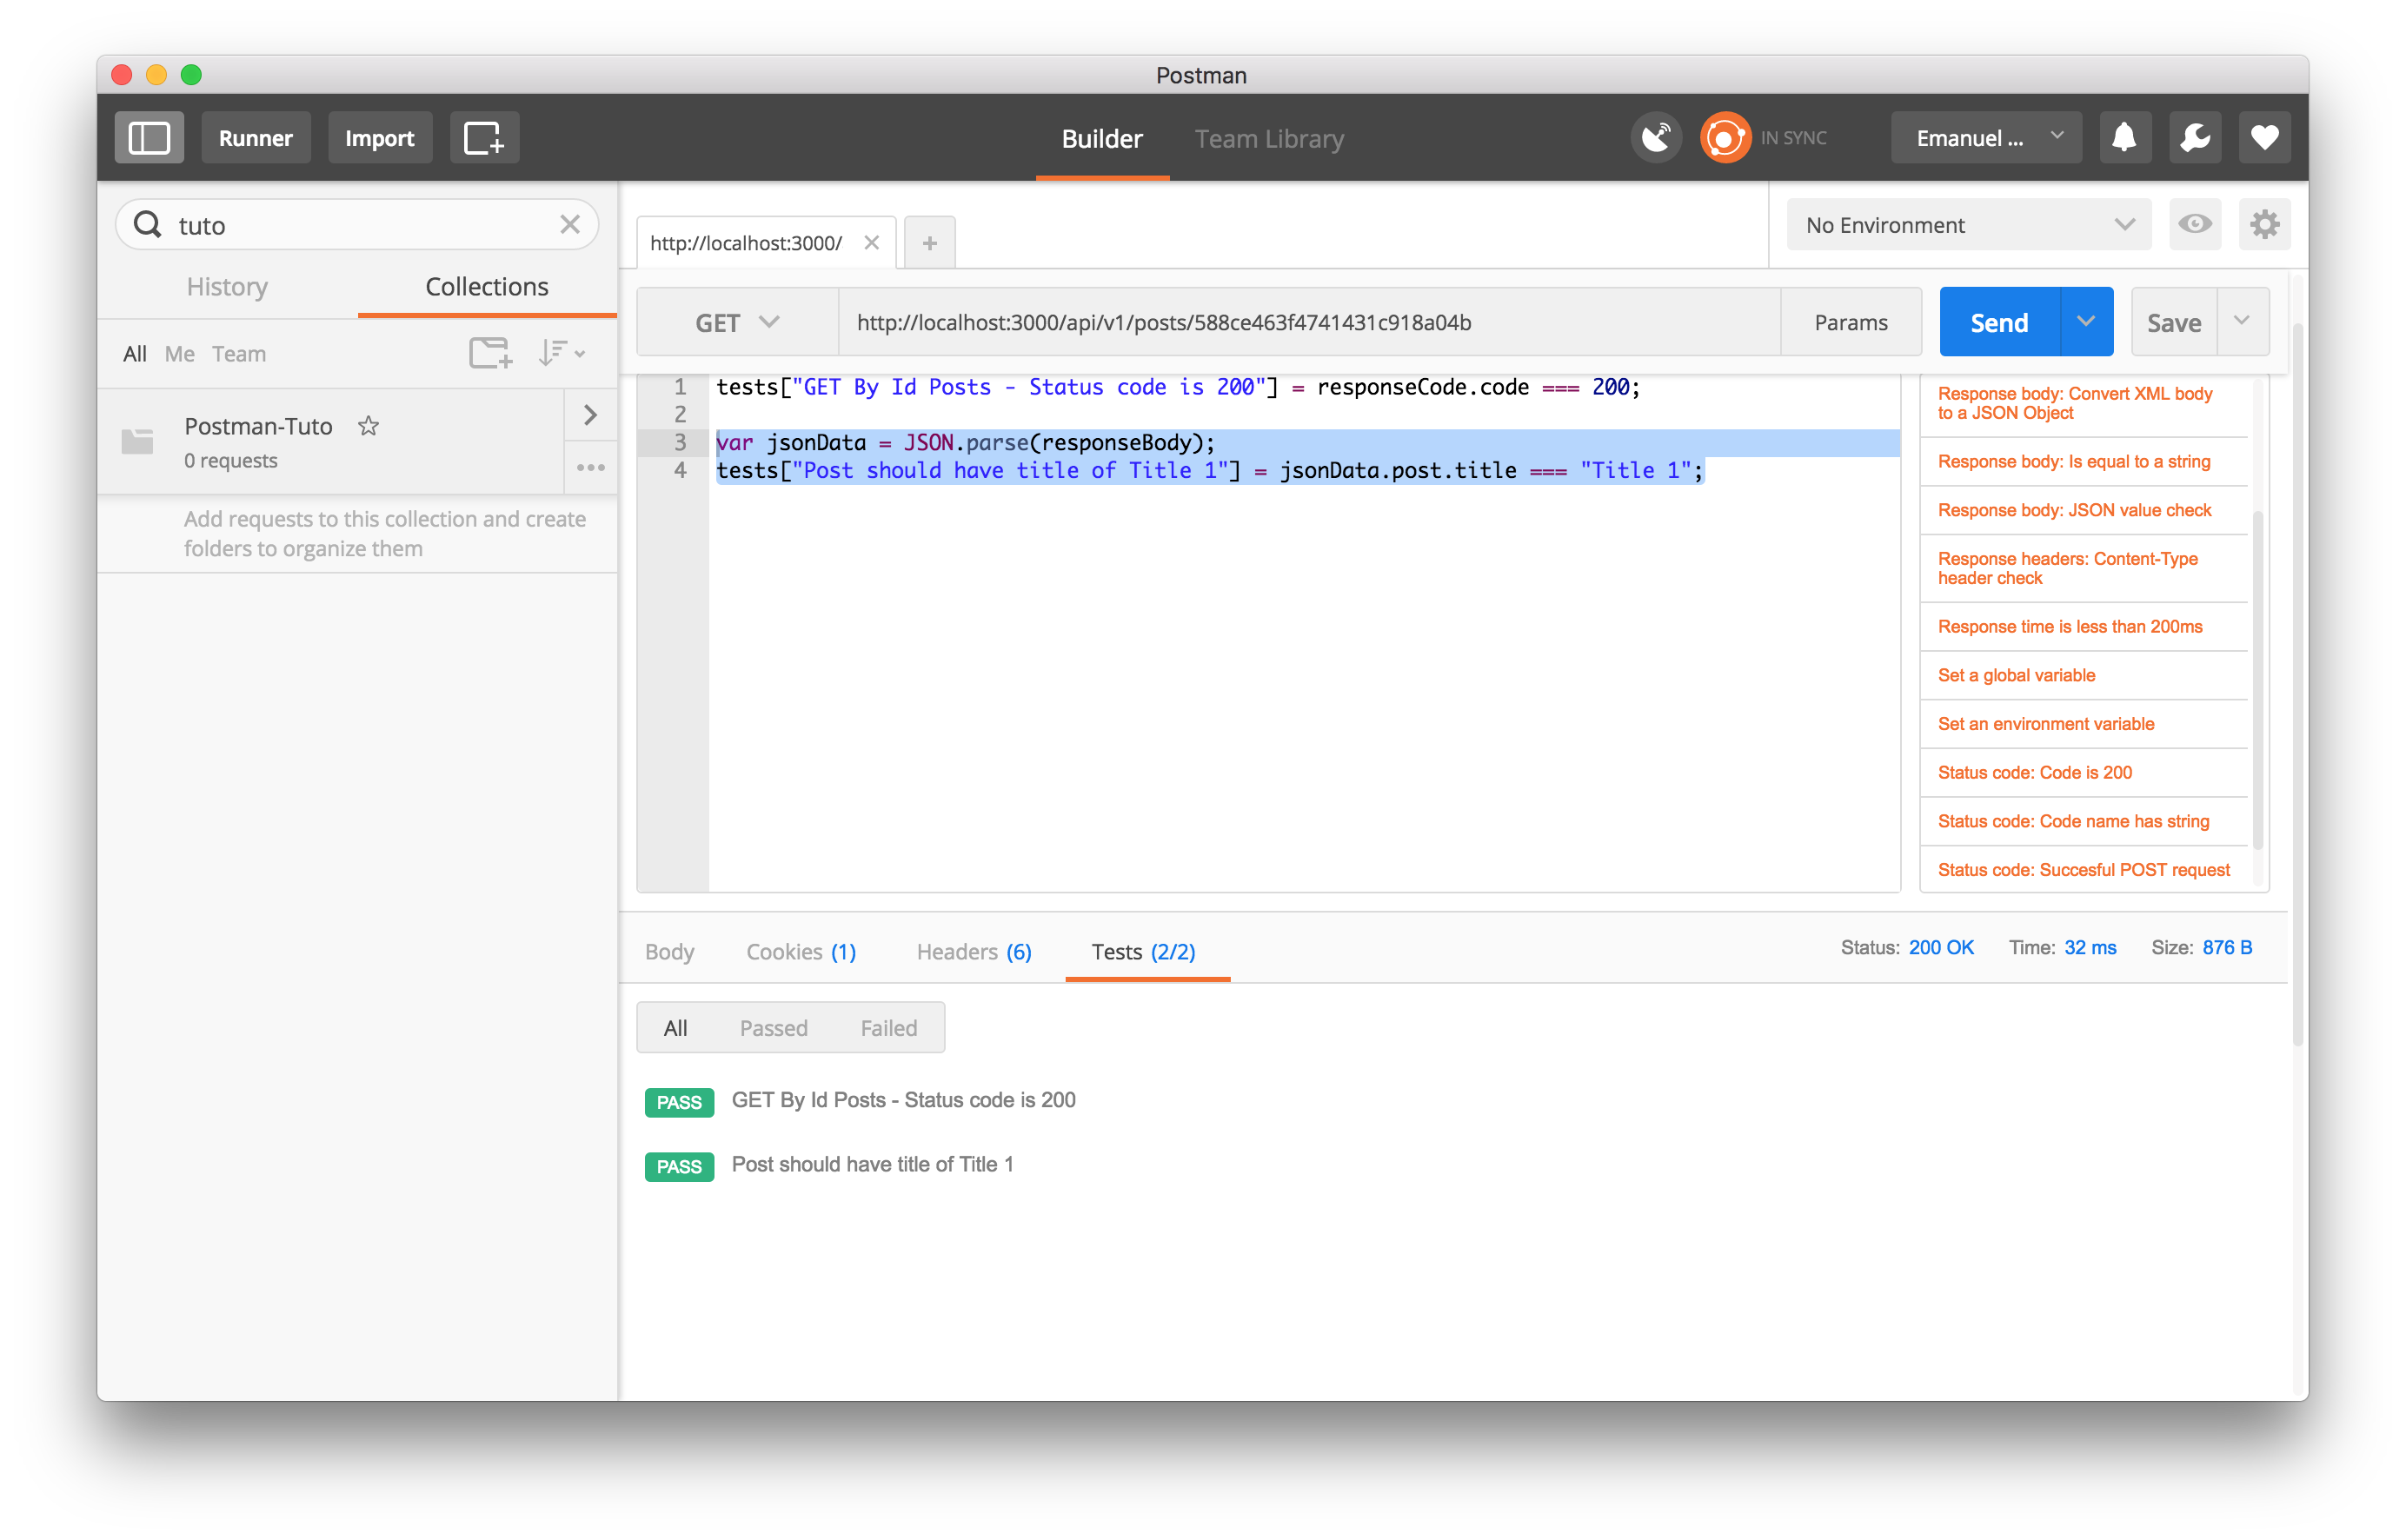
Now add the
Response body: JSON value checkagain in your right snippets.
var jsonData = JSON.parse(responseBody)
tests['Post should have title of Title 1'] = jsonData.post.title === 'Title 1'
Add this line and now click send.
This is the result.
Add more test
Now an example of a complete test for this routes.
tests['GET By Id Posts - Status code is 200'] = responseCode.code === 200

var jsonData = JSON.parse(responseBody)

tests['Post should have title of Title 1'] = jsonData.post.title === 'Title 1'

tests['Post should have id of 588ce463f4741431c918a04b'] =
  jsonData.post._id === '588ce463f4741431c918a04b'

tests['Should have no error'] = jsonData.error === false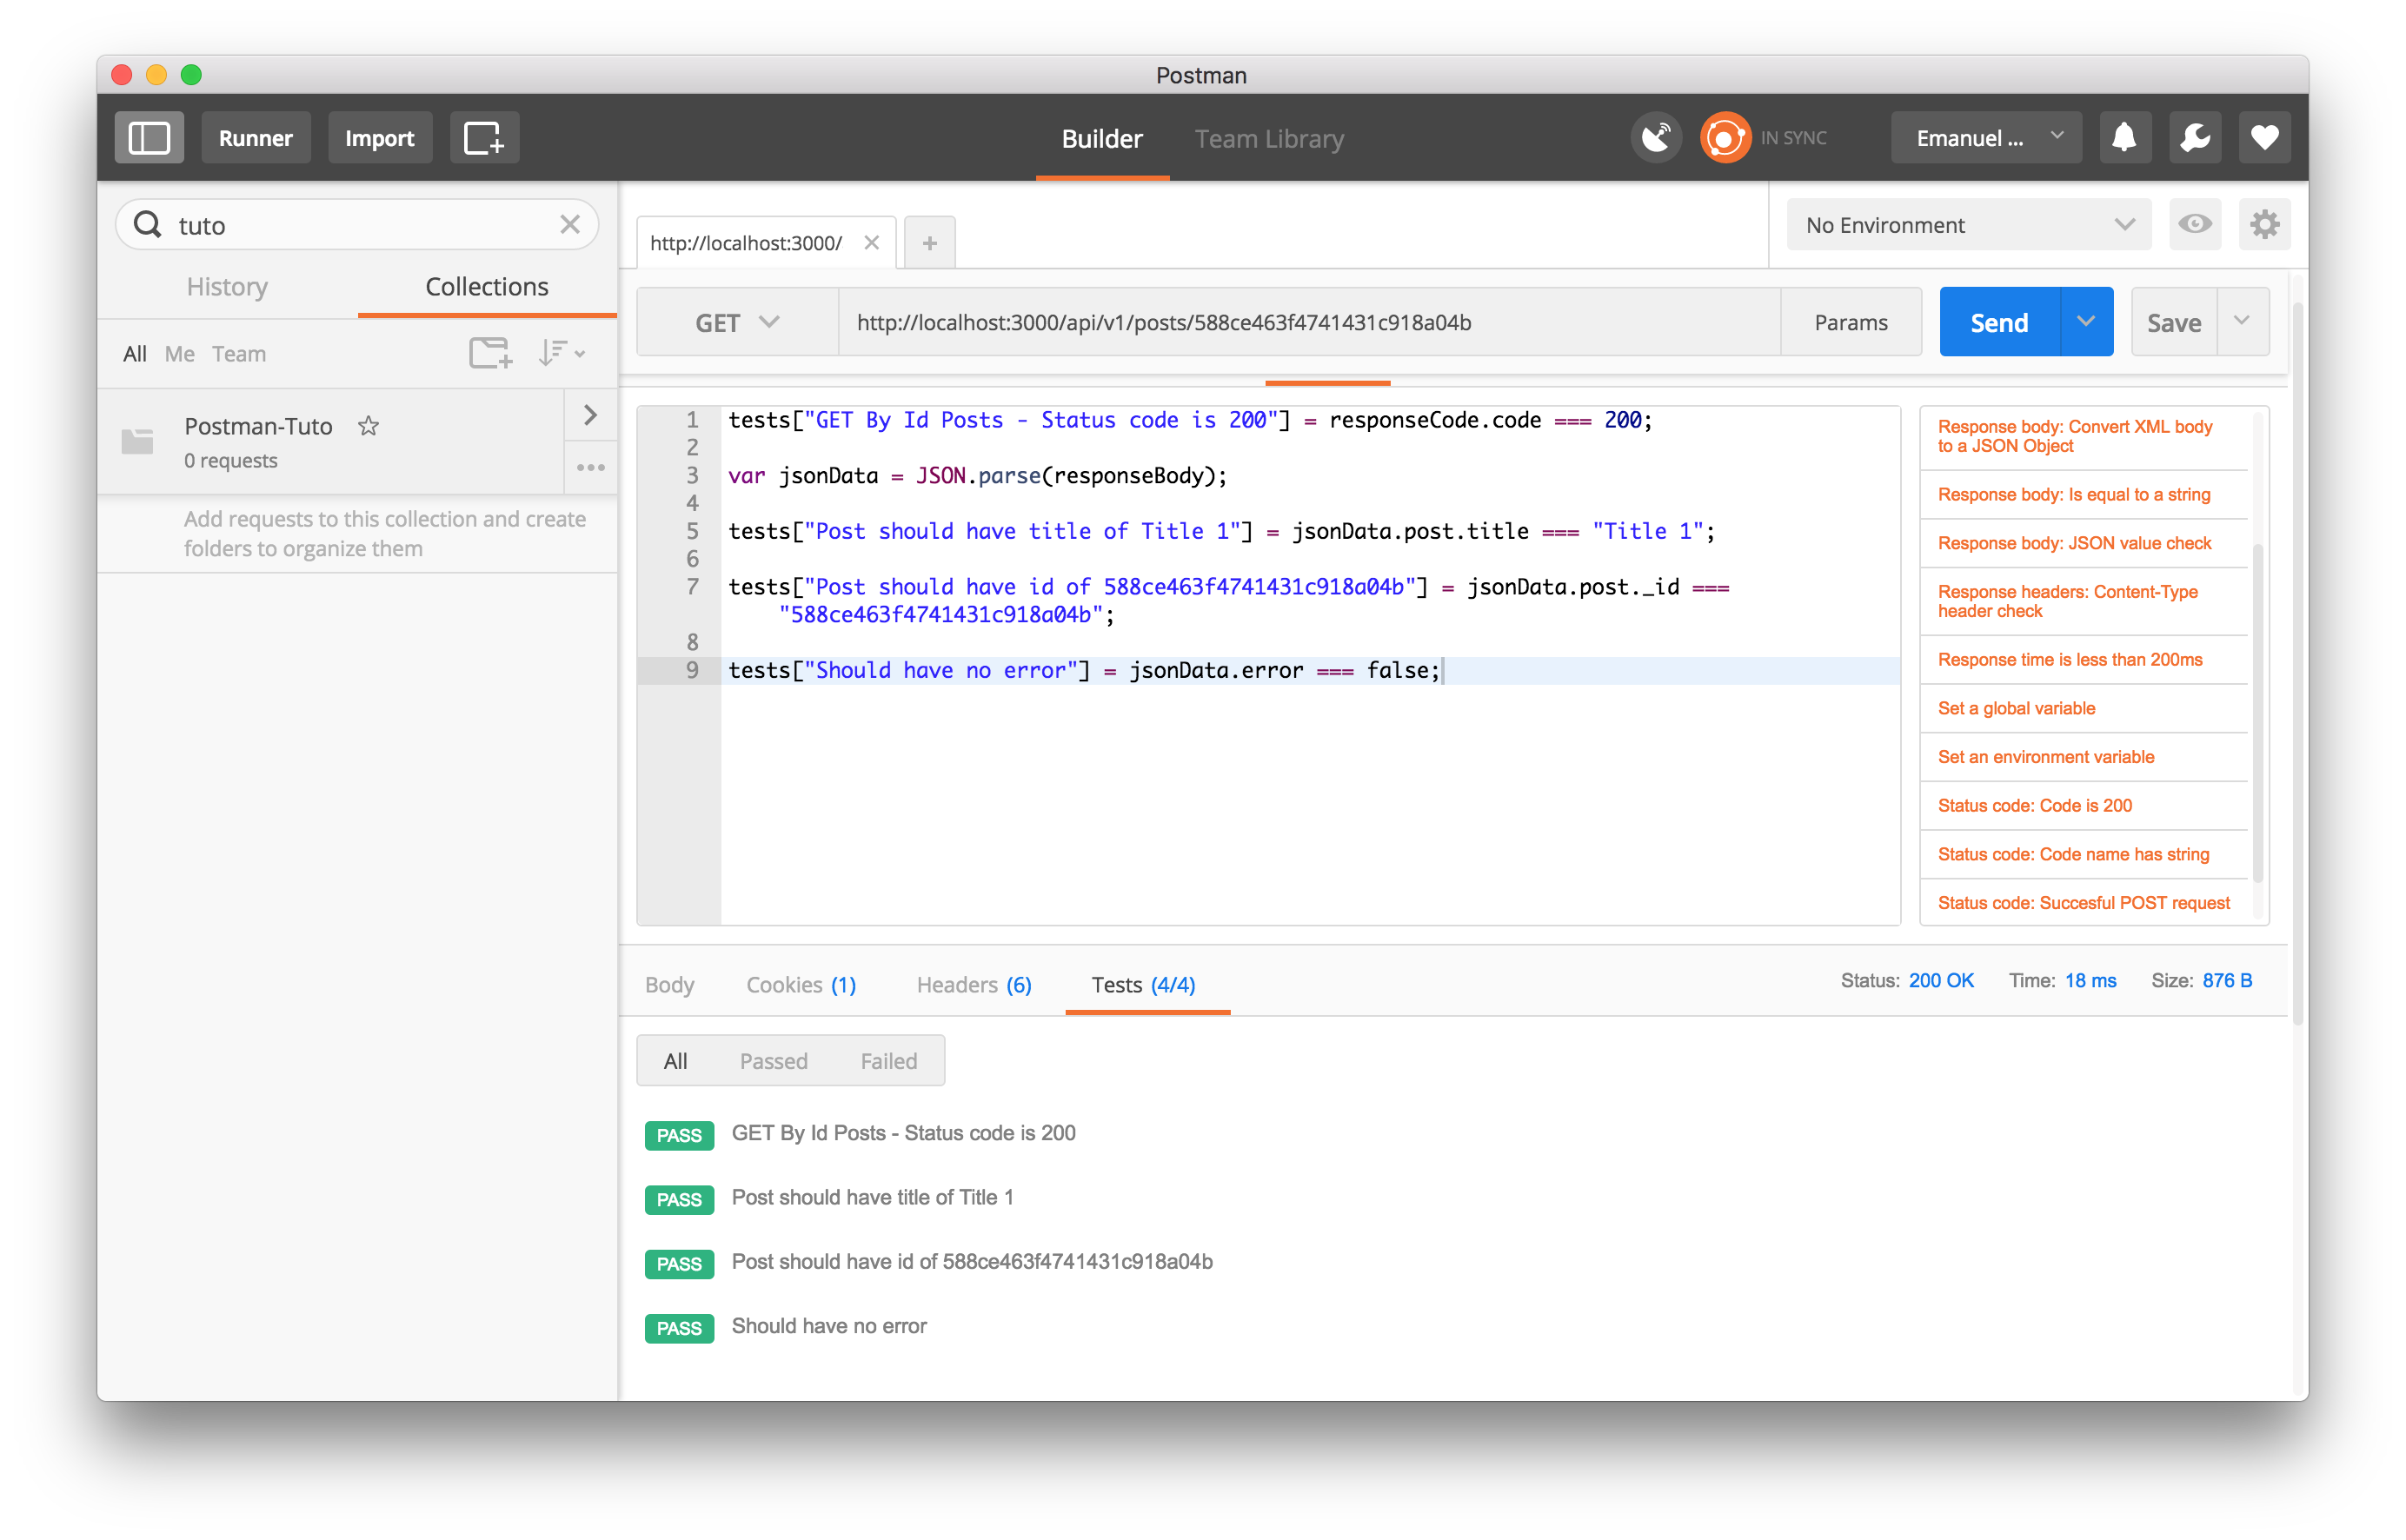
Time to save and add new one
Now in the top left, you can see a big Save button. Click on the arrow and save as. Give a name to this route.
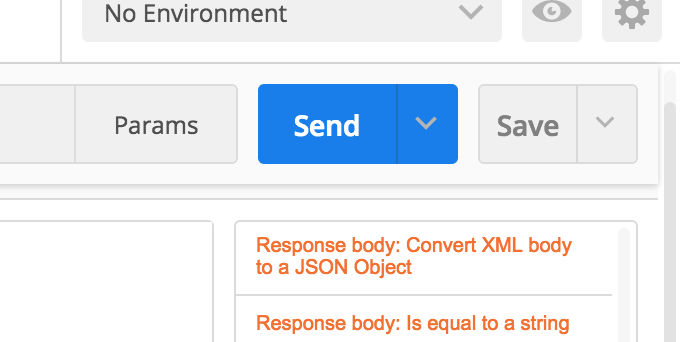
you need to add it to your collection.
The runner
In the top left you can see the button Runner if you click it Postman open a new window. Select your collection in the dropdown.
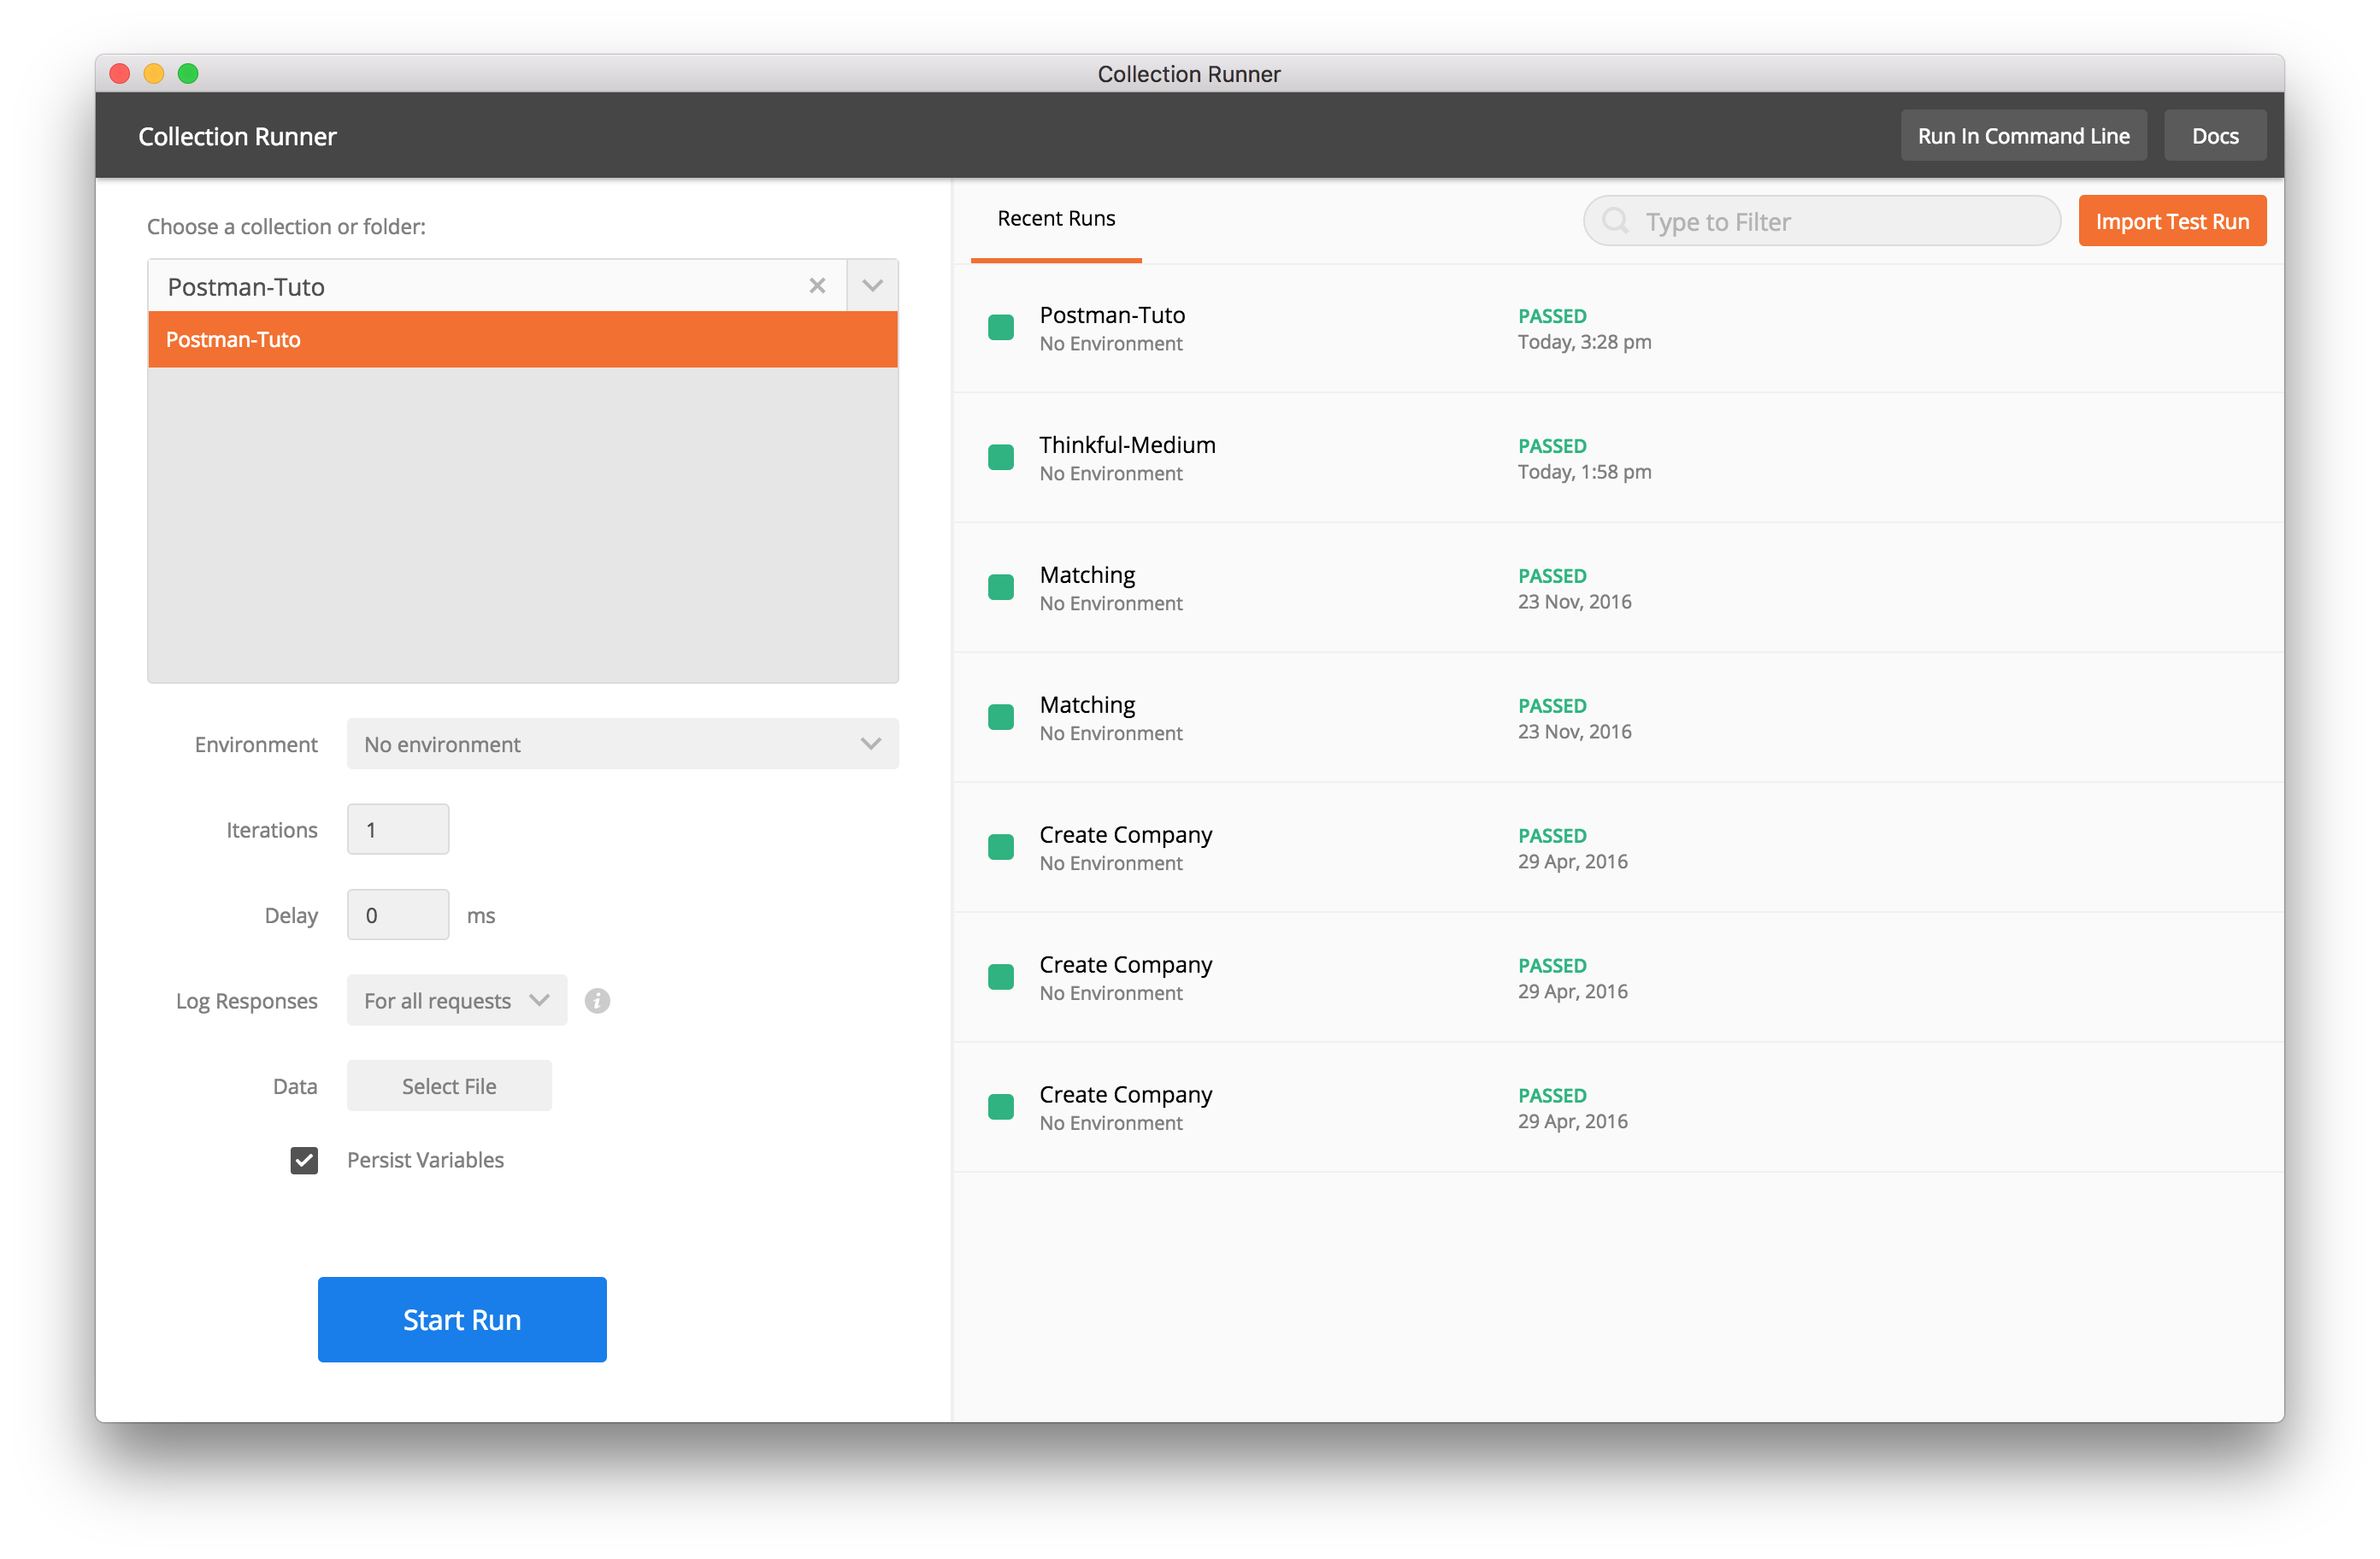
If you click Start Run you can get this.
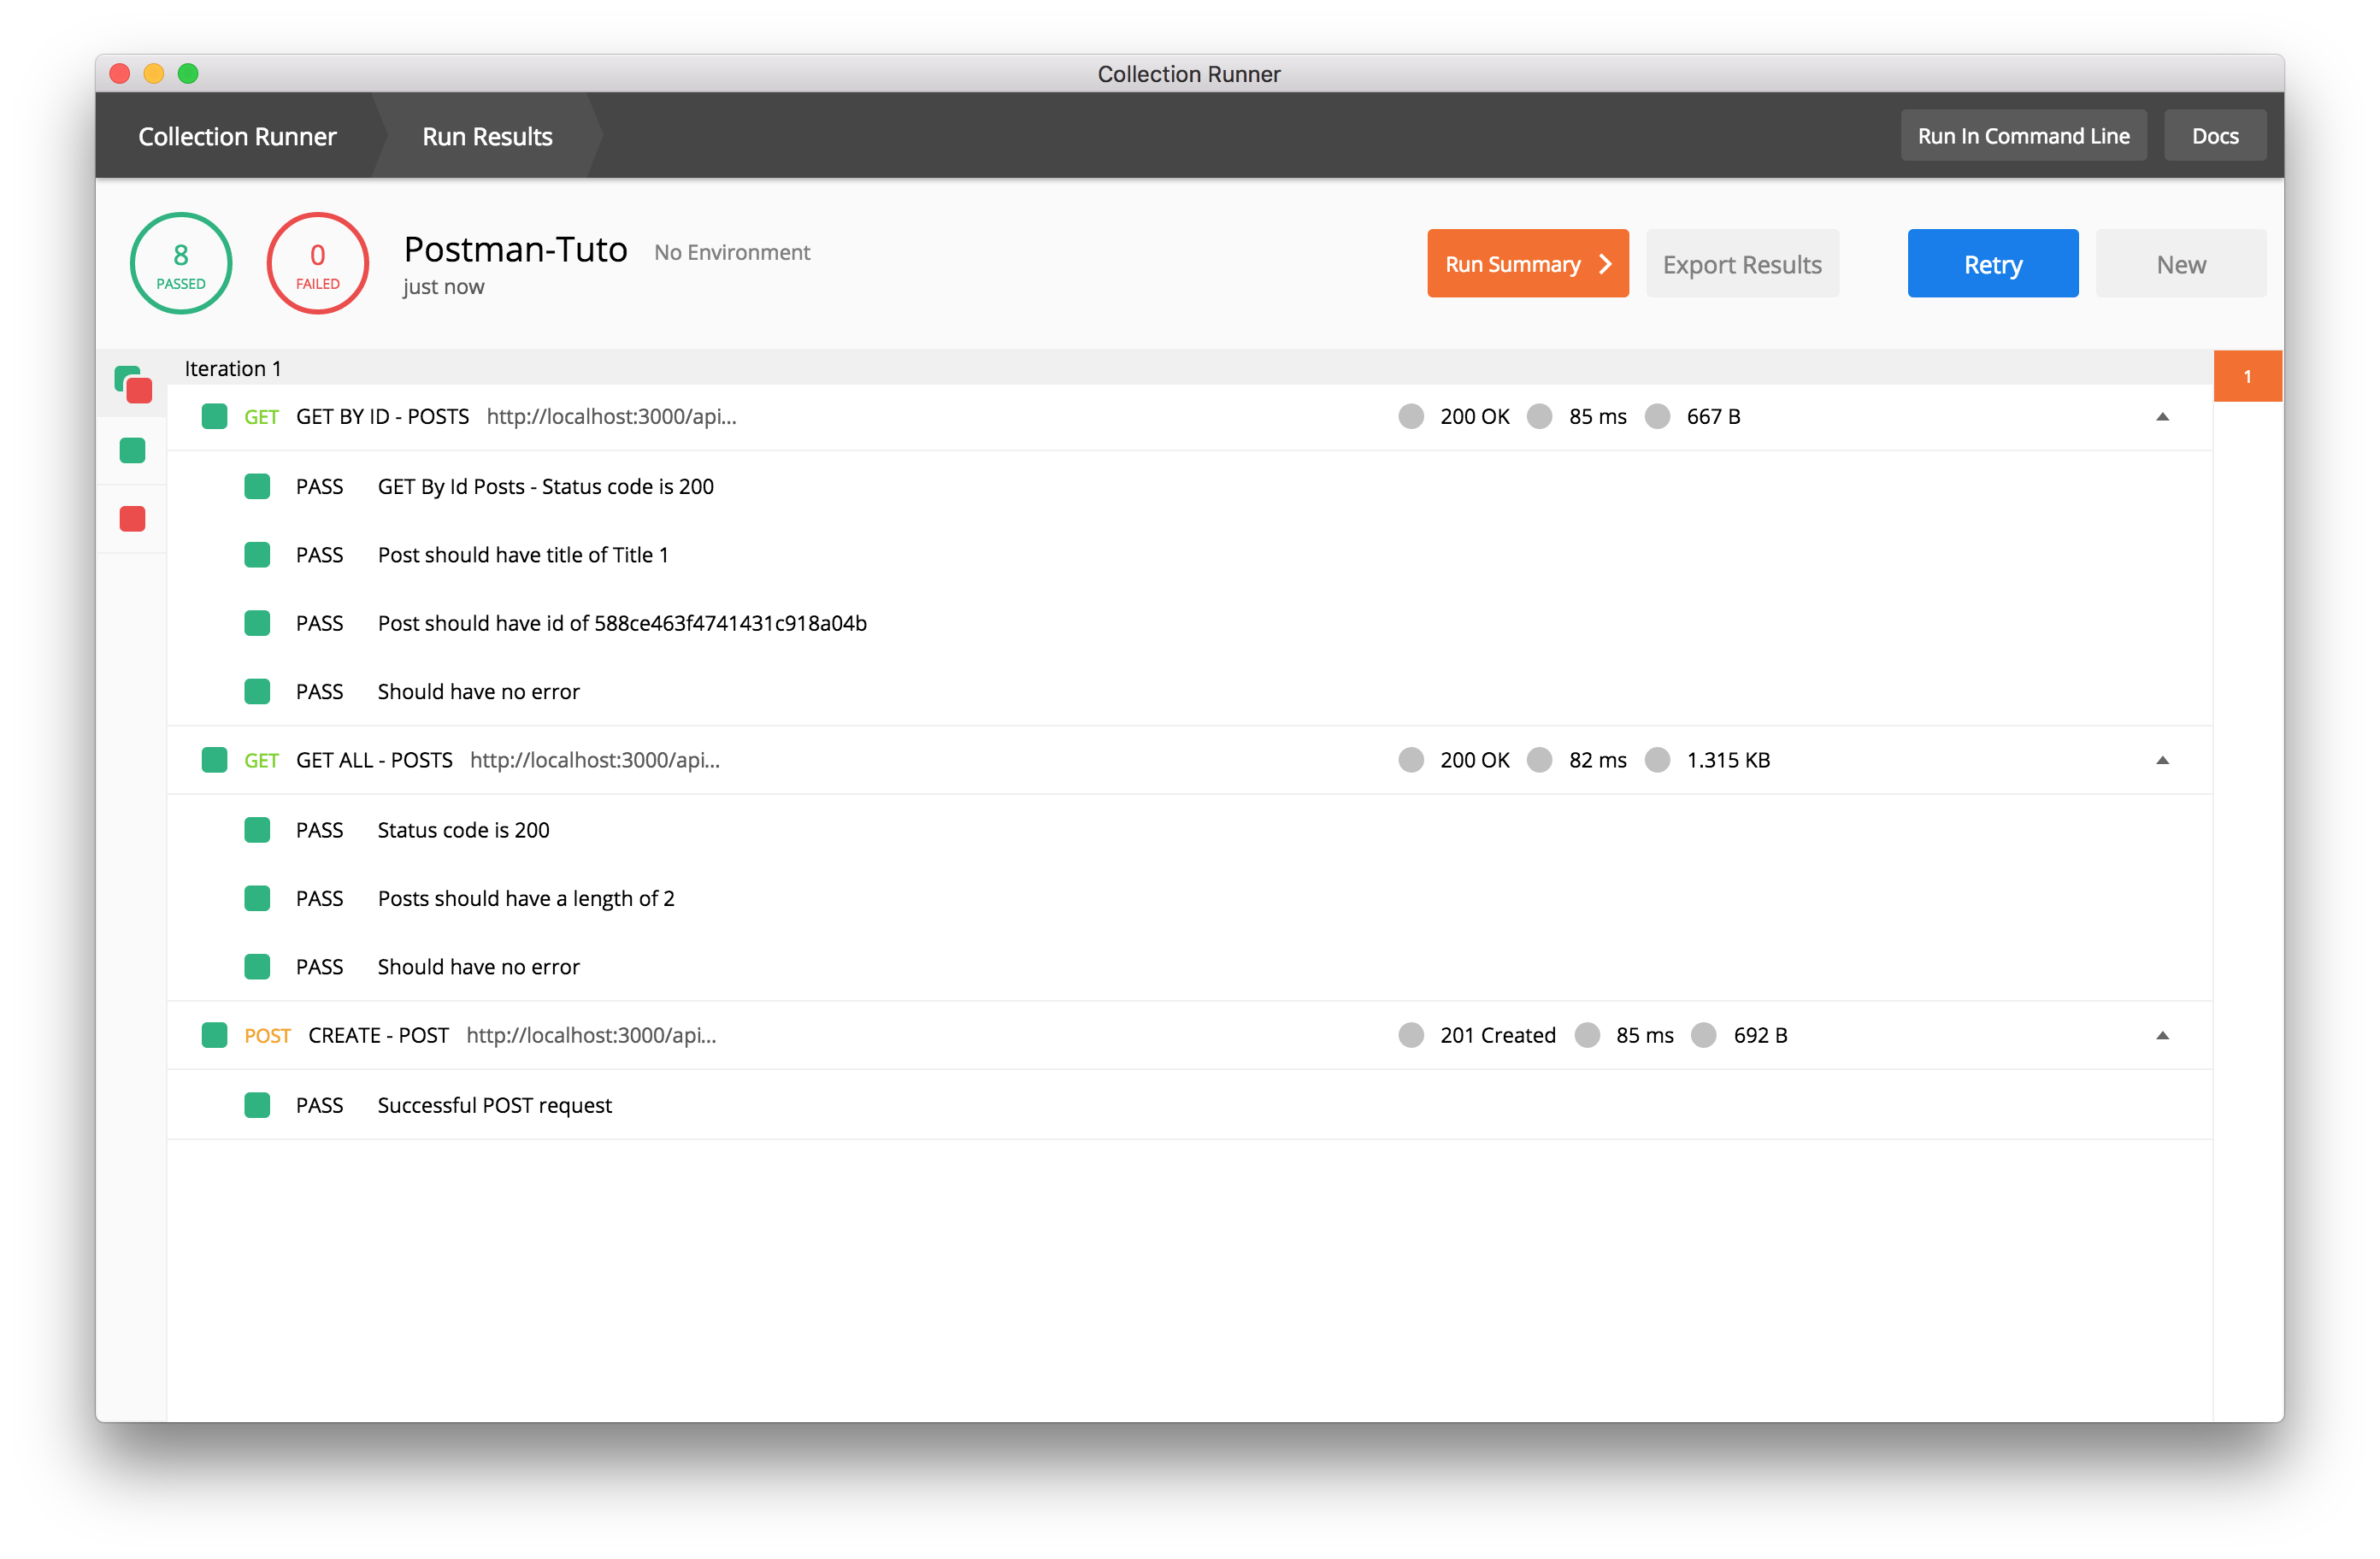
As you can see I add some new test for show how awesome this tool can be. You can also import your test run and give that to another dev in your team.
Last thing you can also export all your route if you click it in your collection. After the other dev just need to import it and he gets all your route. Now I start to export it in my postman folder inside my server so I can import it if I delete mine on my GUI.
Hope you like this little tutorial and you learn something new today :).
P.S You still need to run some test in your controller etc but with the Runner of Postman + the test etc that give you just much more confirmation.
Ressources